
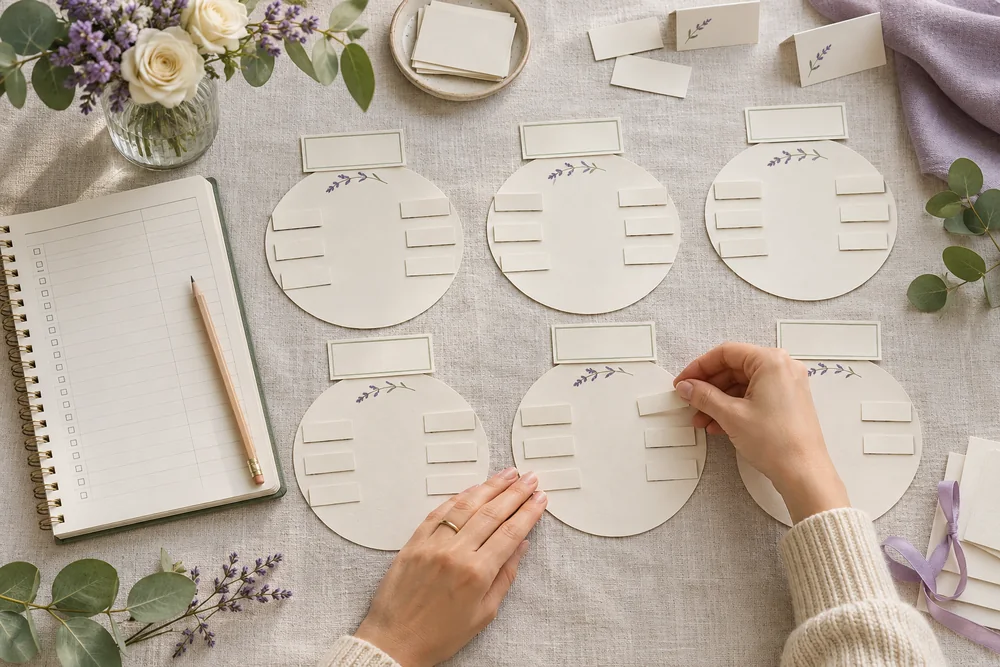
A useful table plan answers two questions: where are the tables, and who sits at each one? Start with the guest list you already maintain, then use the online table plan maker to arrange the room and assign the chairs. You can download a layout PDF without creating an account.
Keep one working list throughout. If a guest changes tables, update the plan before regenerating the printed cards. That is easier to check than maintaining separate seating documents with different table names.
Decide which seating document you need
A room layout shows the position of tables and chairs. An entrance seating poster lists the names guests look for when they arrive. A place card marks an individual seat; an escort card tells someone which table to find.
Use the visual table planner for the room and chair assignments. Choose the wedding seating chart maker when your main task is assigning tables with sit-together and keep-apart rules. Use the Find Your Seat poster maker for an entrance sign. These are different views of the same event, so decide which documents your venue actually wants.
1. Prepare one row per guest
Export your RSVP sheet from Excel or Google Sheets as .xlsx or .csv. Use these column headings for a predictable import:
| Name | Table | Seat | Group | Meal |
|---|---|---|---|---|
| Amelia Hart | Table 1 | 1 | Family | Vegetarian |
| Noah Brooks | Table 1 | 2 | Friends | Chicken |
| Priya Shah | Friends | Vegetarian |
Name is the starting point. Leave Table and Seat empty if you want to decide in the planner. Group and Meal are optional details that travel with the guest into the card editor. Seat numbers start at 1.
Keep guests with the same name as separate rows when they are different people. Remove accidental duplicate rows, check spelling and use one consistent table name rather than a mixture of “3”, “Table 3” and “Three”.
2. Build a schematic of the room
Open a blank plan or try the sample. Add the round or rectangular tables available at your venue and set each table's capacity. Mark the dance floor, stage or entrance with the room elements and text labels. You can move, rotate and duplicate tables as you compare arrangements.
This drawing uses layout units, not real measurements. Confirm the actual room dimensions, table sizes and spaces between them with the venue. If you are choosing a table shape, compare round versus long wedding tables before filling the room.
3. Import and assign guests
Use the Excel / CSV import button or paste one name per line. Existing table assignments are matched by table name; guests without an available chair remain unassigned for review.
You can drag a guest onto a chair, select a name and then a seat, or use the dropdown beside each guest. Dropping a seated guest onto an occupied chair swaps the two people. Moving a waiting guest onto an occupied chair sends the previous occupant back to the waiting list.
Auto-seat fills free chairs and prefers tables that already contain the same group. It does not guarantee that a whole household stays together. Review the result, particularly when there are only a few empty seats left.
4. Check the plan before exporting
Make sure the number of guests still to seat is zero. Check the table names against the signs you will print, and review any meal choices you intend to show on cards. Reducing a table's capacity or deleting a table returns displaced guests to the unassigned list; it does not delete their names.
Use Undo if an arrangement does not work. Changes save in the current browser when storage is available, but download a JSON backup before moving to another device or clearing browser data. Restore that file here to continue editing; the planner does not provide cloud sync.
5. Download the layout and prepare the stationery
Download a landscape A4 PDF or a high-resolution PNG for your venue. Export the guest CSV if the coordinator needs a spreadsheet of table and chair assignments. The layout PDF is a room diagram, rather than an alphabetical entrance poster.
Choose Make place cards or Make escort cards below the planner to transfer seated guests directly to the relevant editor. Names, table labels, seat numbers, groups and meals go with them. The card editors use the existing print plans; the planner's layout downloads are free.
For the final setup, create matching table numbers and read the seating chart to escort cards guide. Keep the plan, numbers and cards based on the same table names.
Start your table plan with a sample layout, then replace the sample guests with your own list.