How To Print Place Cards: The Ultimate Guide for Weddings and Events

This guide contains everything you ever wanted to know (and probably more) about our product: place cards! And while of course we think the best way to make place cards is to use our free printable place card maker, we have tried to make this guide as unbiased, informative, and comprehensive as possible.
We hope you enjoy it!
What Are Place Cards?
According to Wikipedia, place cards are small cards designating assigned seats at formal events. These essential seating tools:
- Direct guests to specific tables/seats
- Add personalization to place settings
- Assist catering staff with meal service
- Elevate table decor aesthetics
Historically used in royal courts, place cards became wedding staples during the Victorian era and remain crucial for organized events today.
Do You Need Place Cards?
Not all events require place cards. Here's how to decide:
You DON'T need place cards if:
- You're having a casual, open-seating event
- Your guest count is very small (under 20 people)
- You're using a seating chart instead
You SHOULD use place cards if:
- You have assigned seating at tables
- You need to indicate specific meal choices
- You want to add elegant personalization to your tables
- You're having a formal dinner with multiple courses
Place Cards vs. Escort Cards: What's the Difference?
While often used interchangeably, there is a technical difference:
| Type | Placement | Information Included |
|---|---|---|
| Place Cards | Already placed at the table setting | Typically just the guest's name |
| Escort Cards | Displayed at the entrance | Guest name + table number |
Pro Tip: Many couples use a hybrid approach - escort cards that guests bring to their table to serve as place cards.
Design Options: Flat vs. Tent Cards
Flat Place Cards
- Lie flat on the table
- Often used with decorative holders
- Modern, minimalist look
- Easier to write/print on
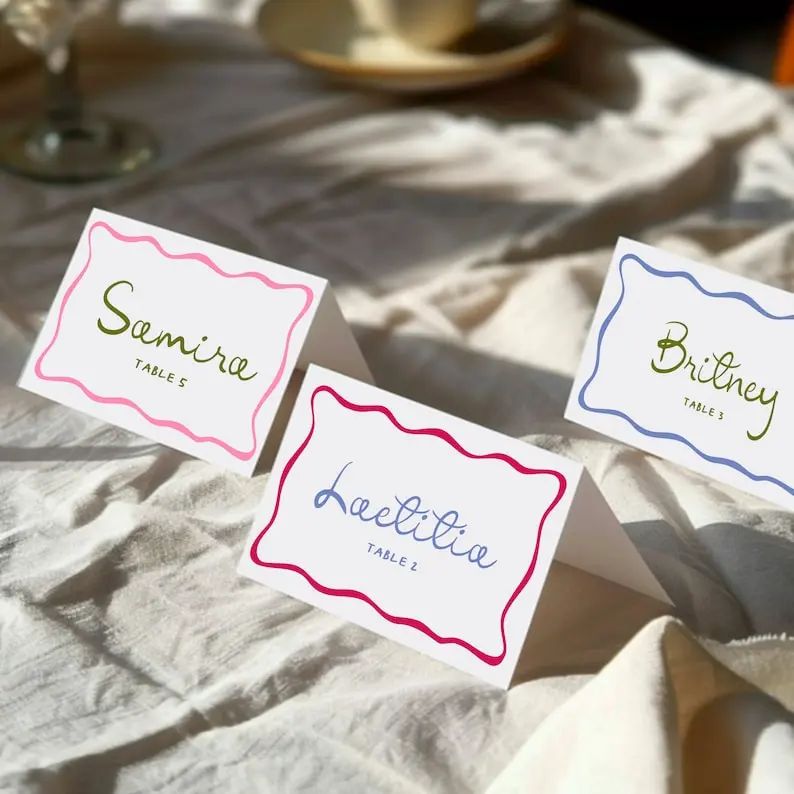
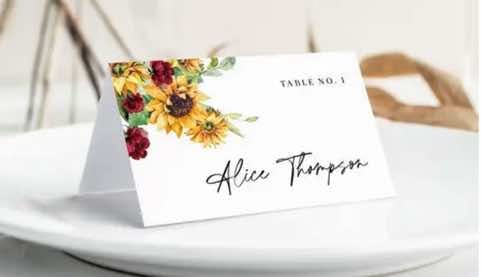
Tent Place Cards
- Folded to stand on their own
- More traditional appearance
- Don't require separate holders
- Both sides can be used for design

How to Create Your Place Cards
Option 1: Professional Calligraphy
- Most elegant option
- Costs $1-$5 per card
- Requires advanced planning
- Find calligraphers on Etsy or local artists
Option 2: Printable Templates
- Most cost-effective solution
- Instant customization
- Use our free place card maker
- Other template sources:
Option 3: Professional Printing
- Highest quality results
- Prices vary by vendor
- Top printing services:
- Minted
- Vistaprint
- Local print shops
Printing Tips for Perfect Results
-
Paper Selection:
- Use 65-110 lb cardstock
- Matte finish reduces glare
- Textured paper adds elegance
-
Printer Settings:
- Select "high quality" or "best" print mode
- Choose the correct paper type setting
- Allow ink to dry completely before handling
-
Cutting & Assembly:
- Use a paper cutter for straight edges
- Score fold lines before bending tent cards
- Consider rounded corners for a softer look
Creative Place Card Ideas
Take your place cards to the next level with these unique concepts:
- Natural Elements: Attach cards to leaves, fruit, or small succulents
- Edible Cards: Use cookies or chocolates as place markers
- Photo Cards: Include small photos of each guest
- Functional Favors: Combine with wedding favors like mini bottles or candles
- Themed Designs: Match your event's style (rustic, modern, vintage, etc.)
For more inspiration, check out Martha Stewart's creative place card ideas.
Frequently Asked Questions
What size should place cards be? Standard sizes are 3.5" x 2" (folded) or 4" x 3" (flat), but can vary based on your design.
How far in advance should I make place cards? Finalize and print 1-2 weeks before your event to accommodate any last-minute changes.
Can I print place cards at home? Yes! Use quality cardstock and your home printer. Our printable templates make this easy.
What information should be on place cards? At minimum include the guest's name. You may also add:
- Table numbers (for escort cards)
- Meal indicators (symbols or colors for dietary needs)
- Thank you messages
How do I display place cards?
- Escort cards: Arrange alphabetically on a table near the entrance
- Place cards: Set at each table setting
- Creative displays: Use mirrors, frames, or decorative holders
Final Thoughts
Place cards are more than just seating directions - they're an opportunity to add personal touches to your event and make guests feel special. Whether you choose elegant calligraphy, DIY printable templates, or professional printing, the perfect place cards will enhance both the organization and aesthetic of your celebration.
For the easiest way to create beautiful, customized place cards, try our free place card maker tool - no design experience required!
