How to Create Print Cards for Various Events Using Microsoft Word and Excel
Introduction
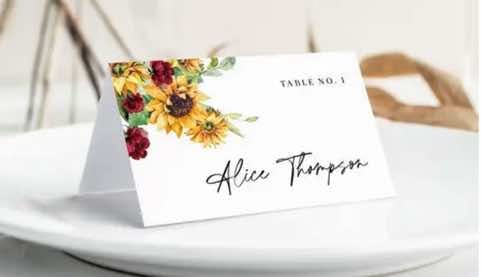
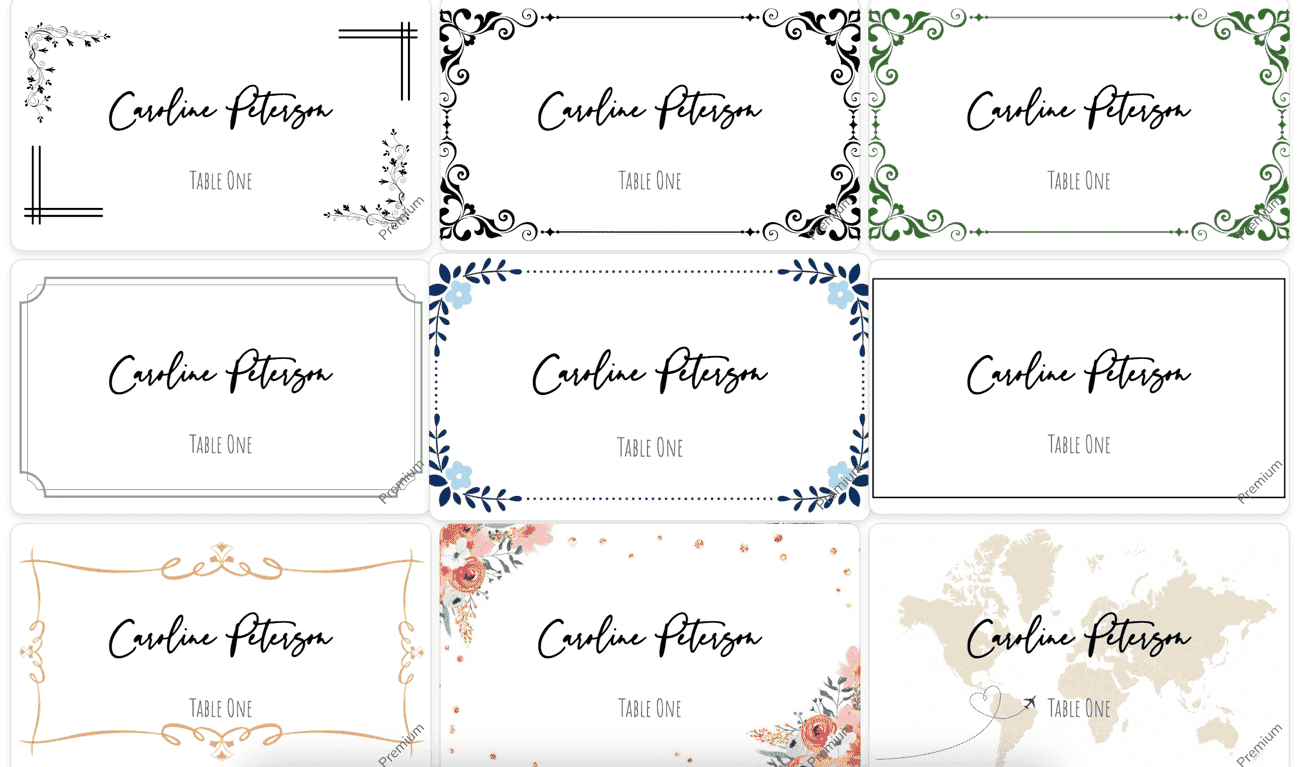
Hi everyone and thank you for joining me in another tutorial. Today, I'm going to show you how to create a print card which you could use for a wedding reception, birthday party, dinner party, or anything that requires a place card. It will have variable data so you will not need to type in every guest name, and I will show you the methods with and without an image. I have put together a free template that you can use. I will leave a link to it in the description. You could use the sizes I have made or change them to your own sizing. The template is for A4, but if you are using US Letterhead, you only need to change the sheet size and the template will fit perfectly.
Microsoft Word Template
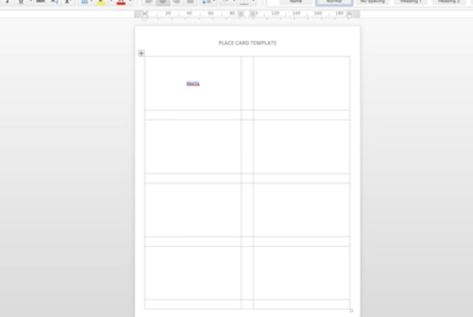
Firstly, I open the template in Microsoft Word and enter a name to be a placeholder. I choose a type size and change the font. I double-click on the name and on my keyboard I click Command + C for Mac or Ctrl + C for PC to copy it. I click inside the next cell and then click Command + V or Ctrl + V to paste. I do this for all 8 cells. I save my file and will come back to it later.
Mail Merge in Microsoft Excel
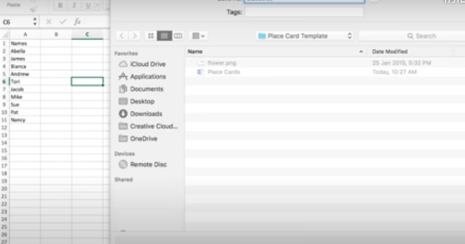
I open Microsoft Excel and select a blank workbook. Here, I enter all the names I need place cards for—you could have five people or five hundred, it doesn't really matter. It will work for any number. I then go to File, Save As to save my spreadsheet and rename the workbook "guest list".
Preview Results of Mail Merge
I reopen my place card Word document and start a mail merge. I select the name in the first cell and go to Select Recipients, then use an existing list. I select the guest list I just created and click Open. Next, I go to Insert Merge Field and select Names. If you remember, the first thing I typed on the spreadsheet was "Name". This is what has come up here. If you were doing an envelope mail merge, you would have more fields such as name, address, postcode, country—they would all show up here. I just need names, so I have selected Names. I want each cell to have a different name as per the spreadsheet. To do this, I select the name within the cell, go to Rules, and select Next Record. I then go back to Insert Merge Field and select Names. Because the font is script, it warps my cell. I will fix this by selecting the next record text, clicking on Home, and changing the font to Calibri and also the size to 0.58.
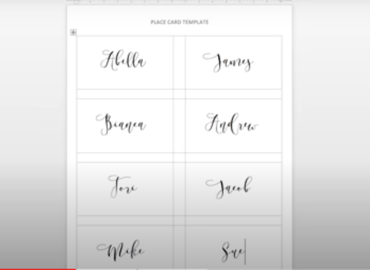 Now I copy all the text inside this cell and paste it into the remaining cells, excluding the first one. If you have followed me and completed everything correctly, when you click on Preview Results, you should see a different name in each cell. I'm happy with the results and I'm now ready to finish the merge. Click on Finish and Merge, then select Edit Individual Documents. As you can see, it has completed with no errors. I have blank cells on my second page because I only had ten names on my spreadsheet. From this point, you can save the document and print another time or print straight to your printer.
Adding Images to Place Cards
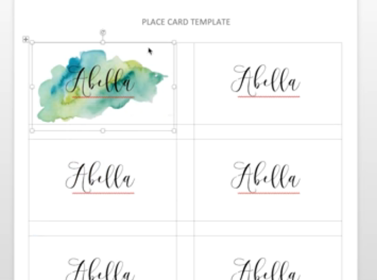 Now onto adding images. To add an image, go to Insert, Pictures, then Picture from File. Select your image and click Insert. The first thing to note is you need a high-quality image for this to look professional. I'm using a high-resolution PNG today. If your image will fall within the bleed lines, you will not need to do the next step and can move your image into place within Word. If your image is going to fall outside of the cell, you need to use the bleed lines and fix the image to make sure it doesn't overlap any other cells. To do this, you'll need a design program. I'm going to use Adobe Illustrator, but you could use Photoshop or any other program that can do this.
Exporting Image from Adobe Illustrator
In Illustrator, go to File, New, and enter the final size of your place cards. If you are using my template, you will need to put in these dimensions. You will also need to enter a bleed—I'm going to use three millimeters. Click OK. You will notice the red line around the white box; this will make sure your place card will have no white edges around the image and look professional. Select the Type Tool from the bar on the left and click on the artboard. Enter the same details you did in the Word document for the placeholder text to the correct image sizing, so 0.58 and the font. Move the name to the center. Next, go to File, Place, and select your image. Click anywhere on the artboard to place it. As I have a high-quality image, it is larger than the artboard, so click and hold the box handles in any corner with your mouse and while holding the Shift key on your keyboard, resize the image, keeping the aspect ratio locked. Keep resizing and moving the image until you have it where you want it. I want to reflect the design, so I'm going to copy and paste the image and then place it in the other corner. My flowers are now where I want them, so I'm going to delete my placeholder name.
If part of my image is going further than my red bleed line, anything outside of the bleed line would go into the next place card when added to my Word document. So I'm going to fix that. I select the Rectangle Tool and draw a rectangle box using the red line as a guide. Now, I select all of my images on the artboard, right-click on the mouse, and select Make Clipping Mask. Now everything is within the bleed. Select File from the menu, then go to Export, Export As. Change the name of your image and make sure the format is PNG. Click Export. Make sure the resolution is high, 300 PPI, and that the background color is transparent. Click OK.
Printing and Assembling the Place Cards
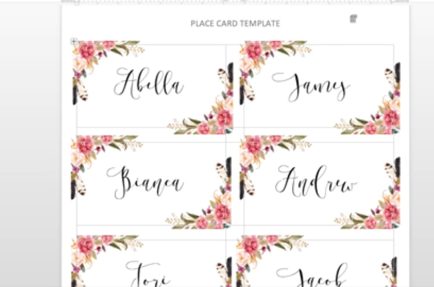
Go back to your Word document before you did the mail merge. From the menu, select Insert, Pictures, then Picture from File. Select your image you just created and click Insert. While the image is selected, click Picture Format from the menu, select Wrap Text, and then In Front of Text. Make sure you can make changes; right-click on the mouse and go to Size and Position. Under Scale, make sure height and width are 100%. Move your image around until it is where you would like it to be within the bleed area. Once completed, right-click on the map, go to Wrap Text, and select Behind Text to make sure you can access the text. Select the image once more and click Command + C or Control + C on the keyboard to copy the image, then Command + V or Ctrl + V to paste. Place the image in the correct spot and do the same for the remaining cells. Now keep on going with the mail merge exactly as I showed you earlier.
Once the merge is completed, go ahead and print off your file, cut the place cards to size, score, and assemble them. I hope you found this tutorial helpful. Please let me know if you did. I'm also open to suggestions if there is something you would like to see.
