How to Create Custom Place Cards in Word: A Step-by-Step Guide

By Placecard.us | Update: 22 Jun 2024
How to Create Custom Place Cards in Word: A Step-by-Step Guide

Introduction: The Art of Custom Place Cards

Creating custom place cards adds a personal touch to any event, whether it’s a wedding, a formal dinner, or a corporate function. With Microsoft Word, you can design elegant and unique place cards with ease. Follow this step-by-step guide to learn how to create, customize, and print beautiful place cards that will impress your guests.

Step 1: Setting Up Your Document

Open Microsoft Word

Start by opening Microsoft Word on your computer. Create a new blank document by selecting "File" > "New" > "Blank Document."

Set the Page Layout

To create place cards, adjust the page layout to match the size of the cards you want to print. Go to "Layout" > "Size" and select "More Paper Sizes." Enter the dimensions for your place cards. A common size is 3.5 x 2 inches, but you can customize this based on your preferences.

Set Up Margins

Next, set the margins to ensure your design fits perfectly within the card dimensions. Go to "Layout" > "Margins" > "Custom Margins" and adjust the margins to suit your design. Typically, a 0.25-inch margin on all sides works well.

Step 2: Designing Your Place Cards

Create a Table

Using a table helps organize the layout of your place cards. Go to "Insert" > "Table" and create a table with the number of rows and columns you need. For example, if you are printing four place cards per page, create a 2x2 table.

Adjust Table Properties

Set the dimensions of each cell to match the size of your place cards. Right-click on the table and select "Table Properties." Under the "Row" and "Column" tabs, set the height and width to your card dimensions.

Add Borders and Shading

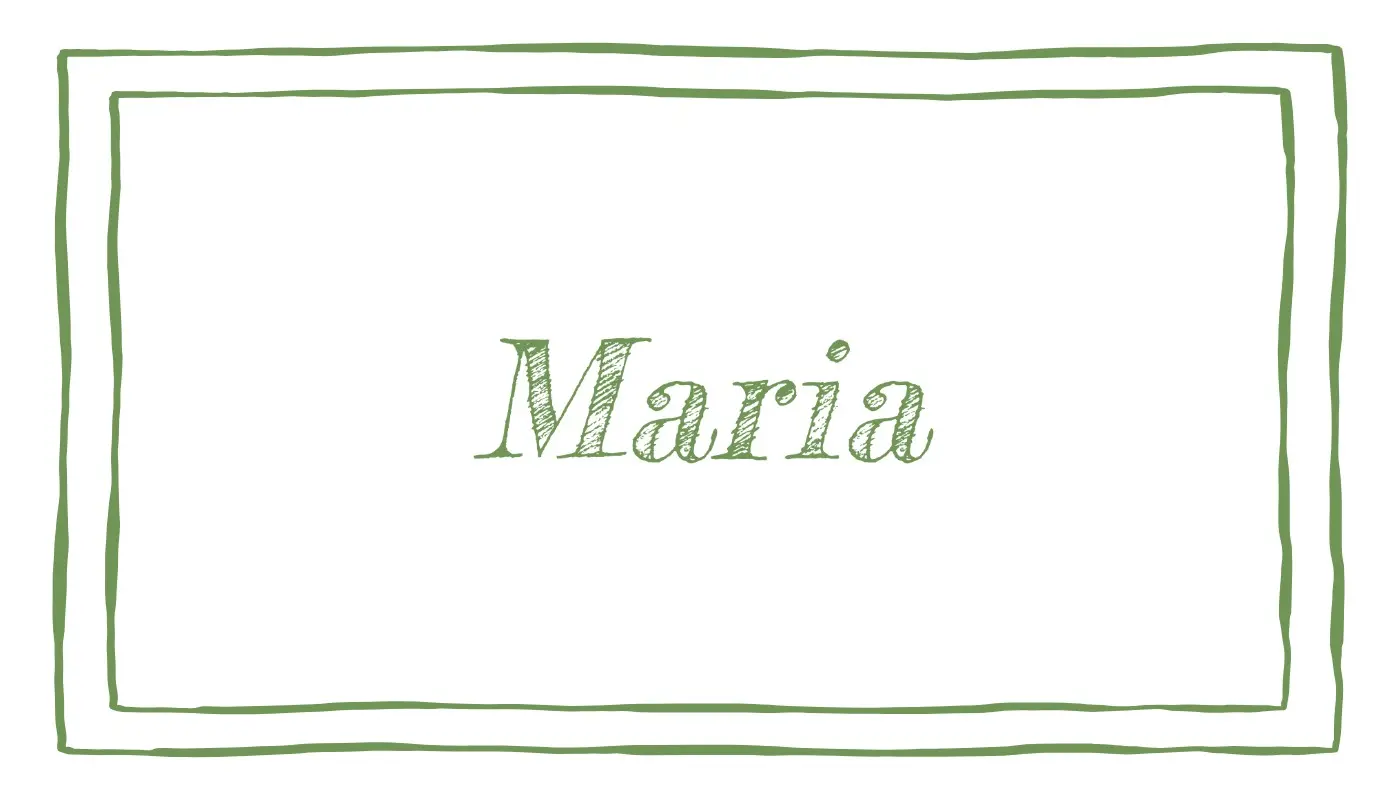
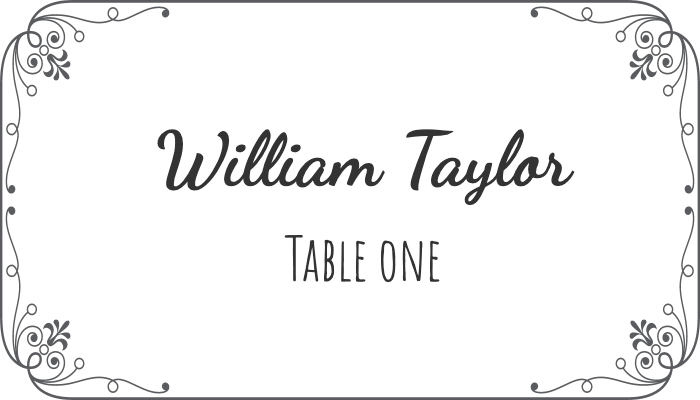
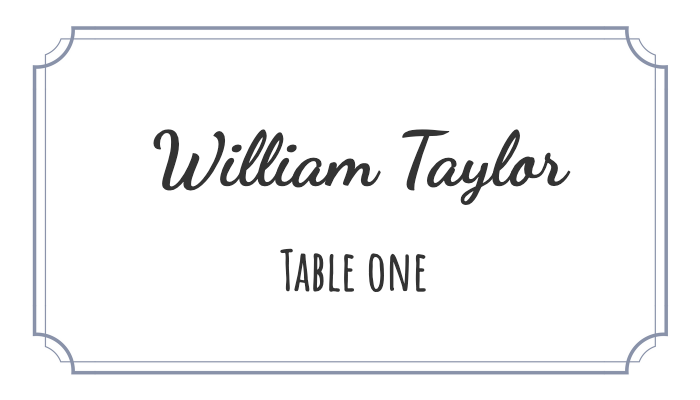
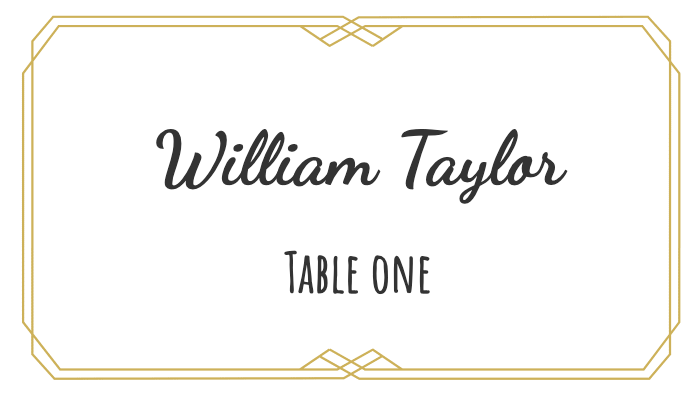
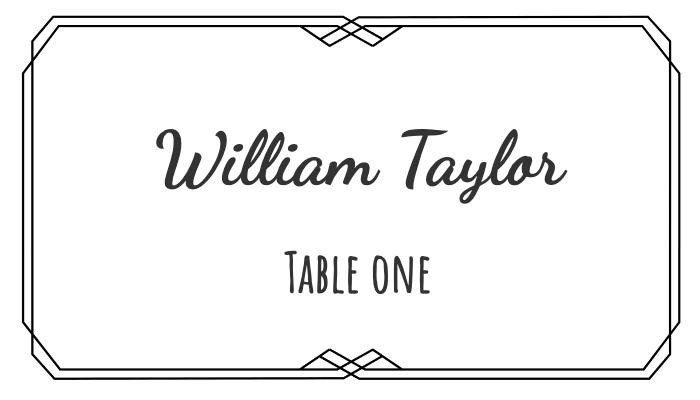
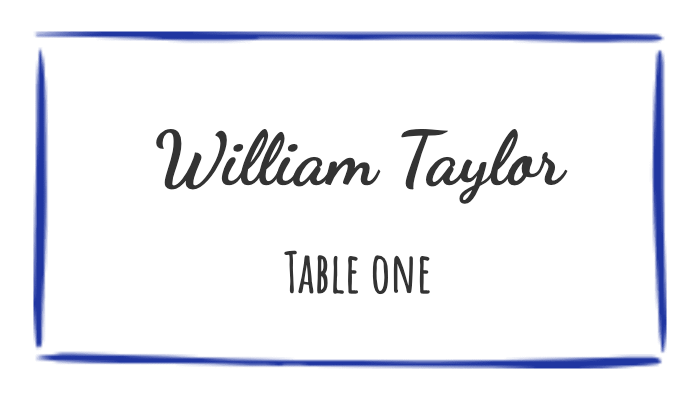
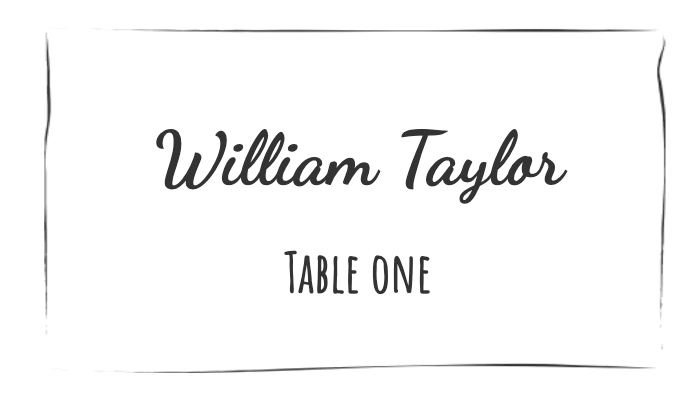
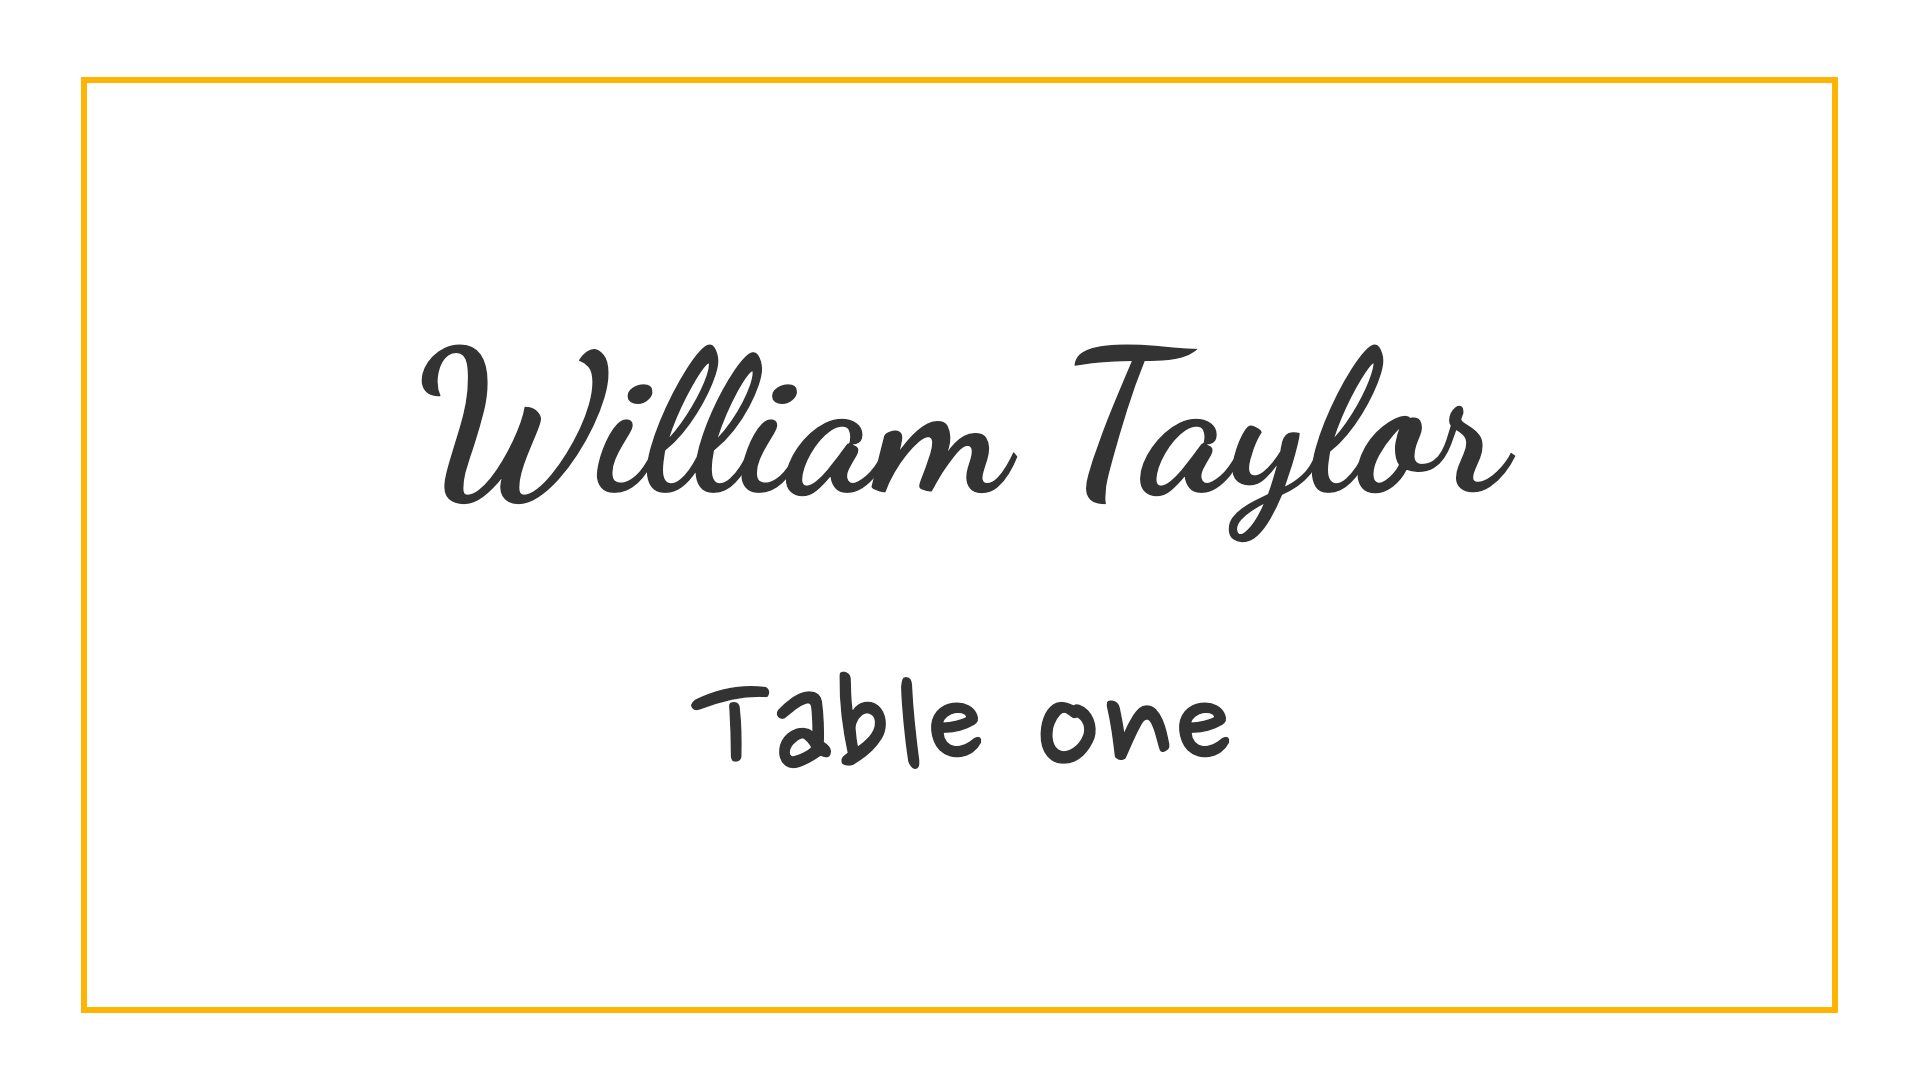
Customize the borders and shading of your table to enhance the design. Go to "Table Design" and choose a border style, color, and width. For a more elegant look, consider using subtle borders or none at all.

Step 3: Customizing Your Place Cards

Add Text

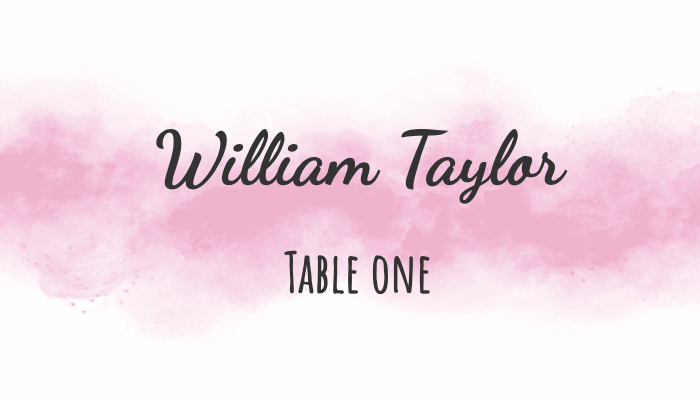
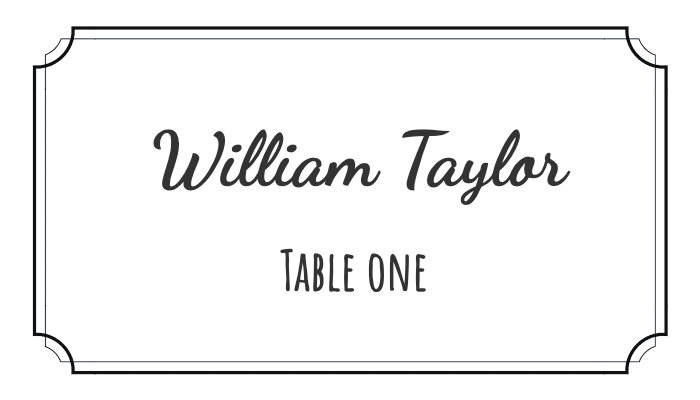
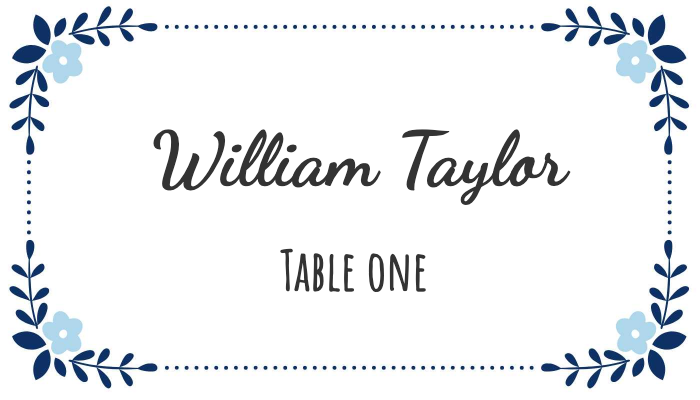
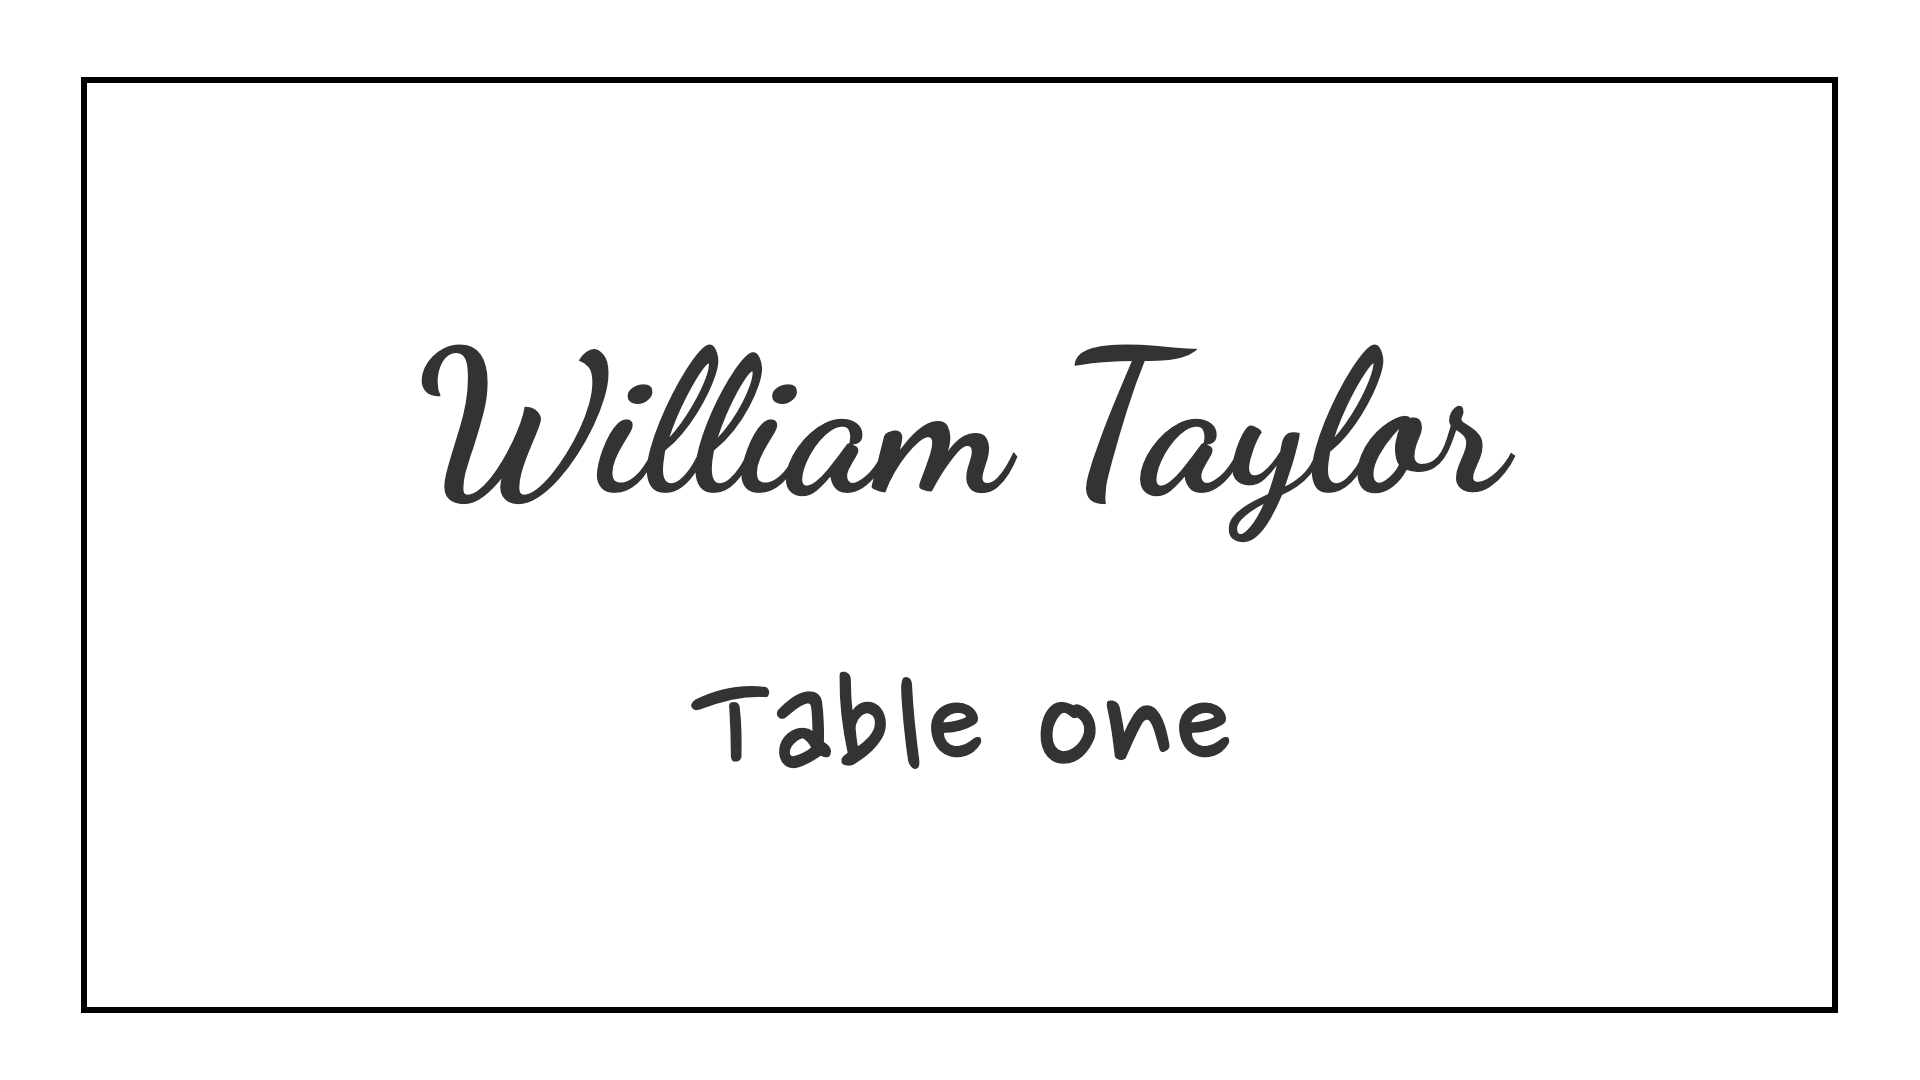
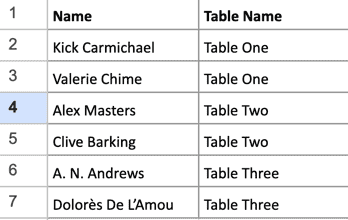
Click inside each cell of the table to add text. Type the names of your guests and any additional information, such as table numbers or titles. Use the "Home" tab to customize the font style, size, and color. Elegant serif or script fonts often work well for formal events.

Insert Images or Graphics

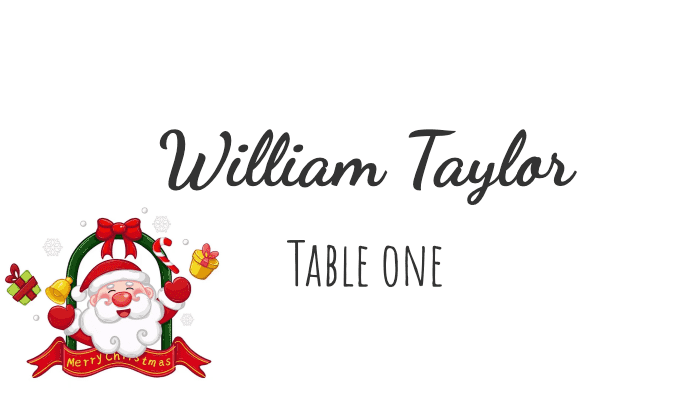
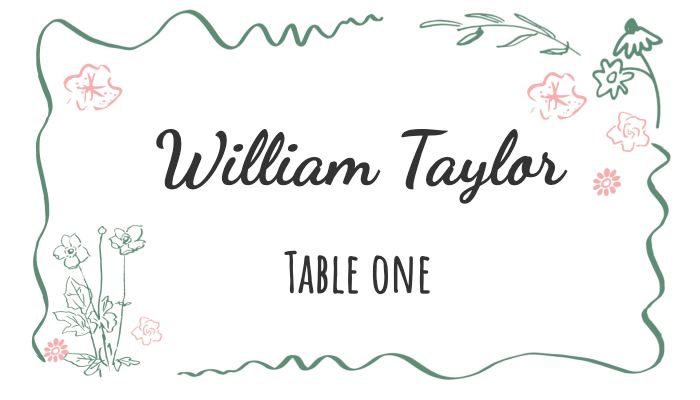
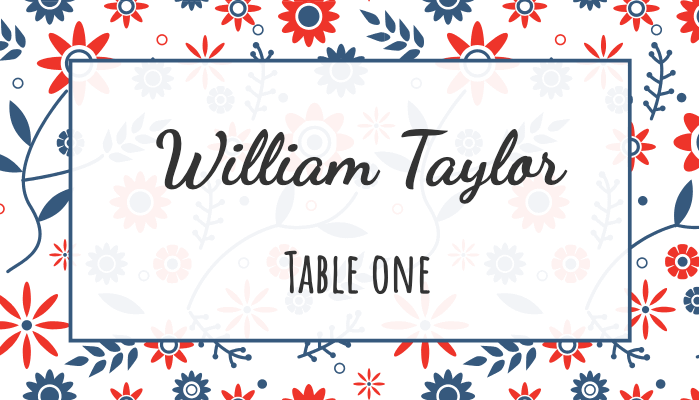
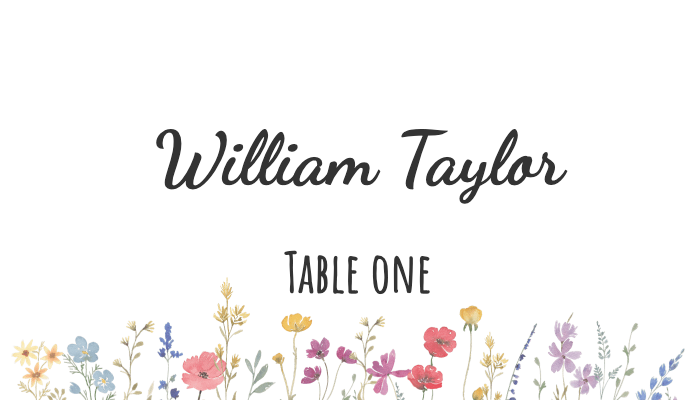
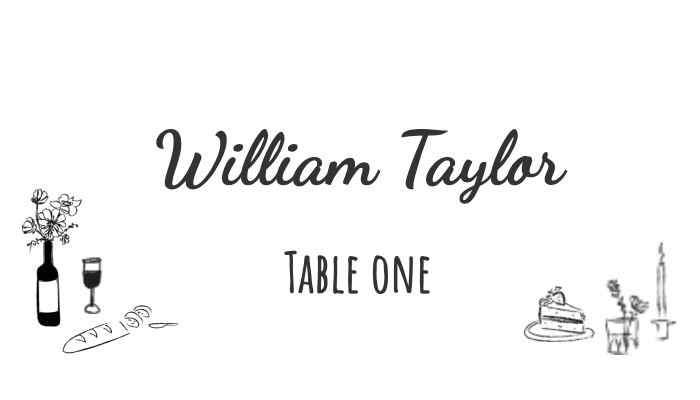
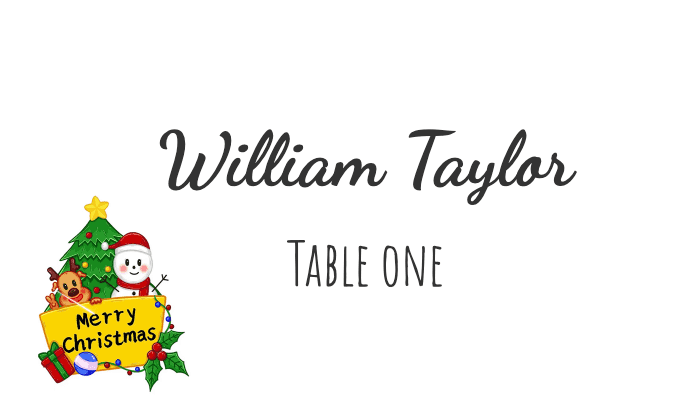
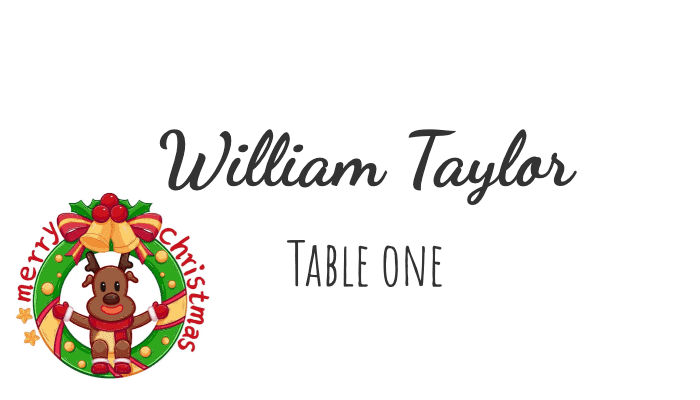
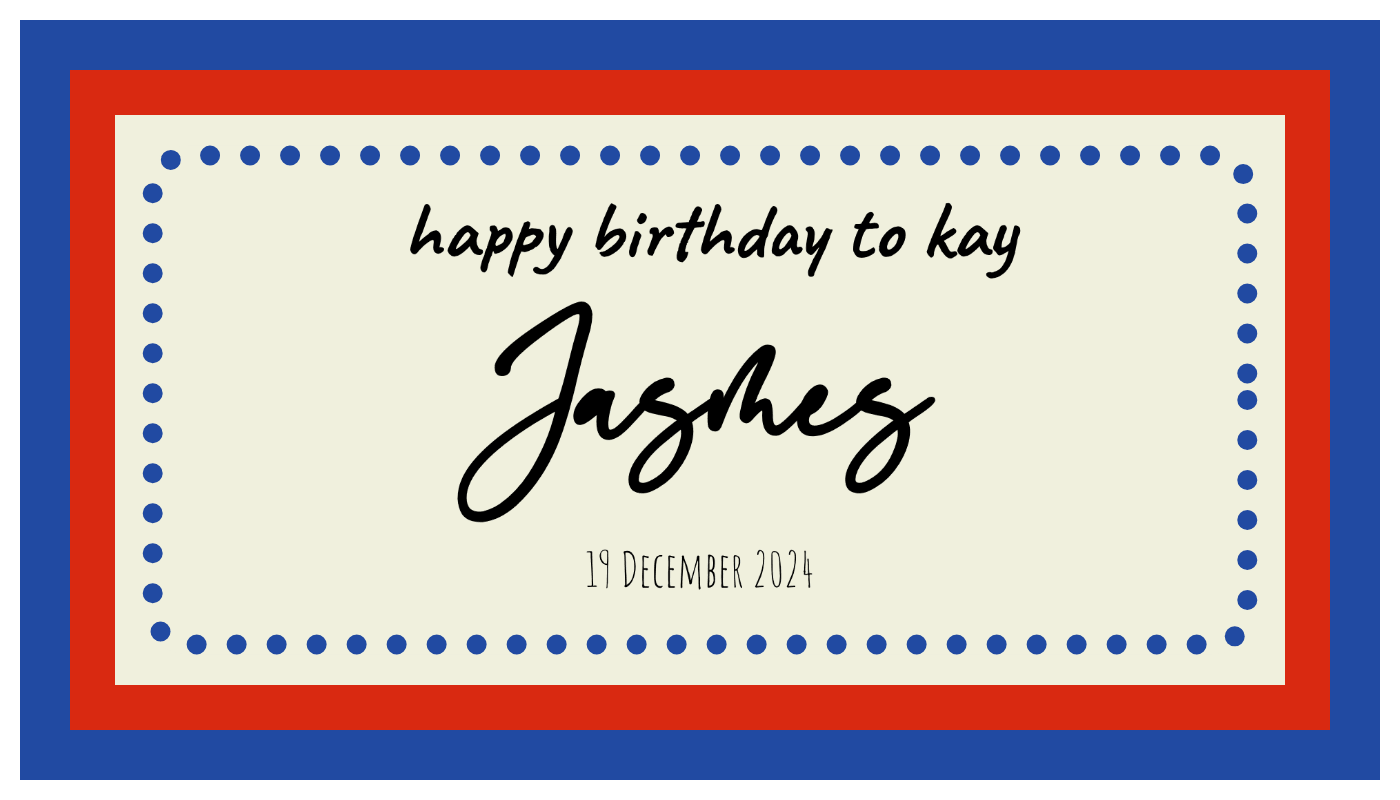
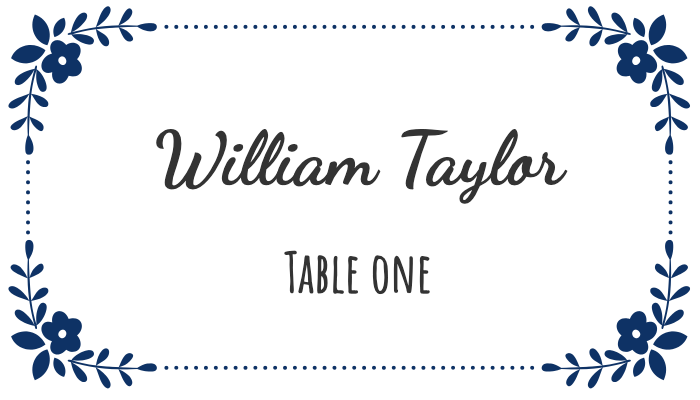
Enhance your place cards by adding images or graphics. Go to "Insert" > "Pictures" to add images from your computer, or use "Insert" > "Icons" for built-in graphics. Position the images appropriately within each cell and resize them as needed.

Apply Formatting

Use the formatting tools in the "Home" tab to align text and images. Center-aligning text and images often creates a balanced and professional look. You can also add bold or italic effects to highlight certain elements.

Step 4: Printing Your Place Cards

Preview Your Design

Before printing, preview your design to ensure everything looks as expected. Go to "File" > "Print" and select "Print Preview." Check for alignment, spacing, and overall appearance.

Select the Right Paper

Choose high-quality cardstock for printing your place cards. The weight and texture of the paper can significantly affect the final look. Common choices include matte, glossy, or textured cardstock.

Print a test page to check the print quality and alignment. Adjust printer settings as needed, such as selecting the highest print quality and ensuring the correct paper size is selected.

Once you’re satisfied with the test print, proceed to print the rest of your place cards. Allow the ink to dry completely before cutting or handling the cards.

Step 5: Cutting and Assembling

Cut the Place Cards

Use a paper cutter or a precision knife to cut the place cards along the borders. For straight and clean edges, a paper cutter is recommended.

Fold and Arrange

If your place cards are designed to be folded, carefully fold them along the center line. Arrange them on your table settings to add a personalized touch to your event.

Creating custom place cards in Microsoft Word is a simple yet effective way to add elegance and personalization to any event. With these steps, you can design and print beautiful place cards that leave a lasting impression on your guests. Happy designing!

call to action image

Ready to create your custom place cards?

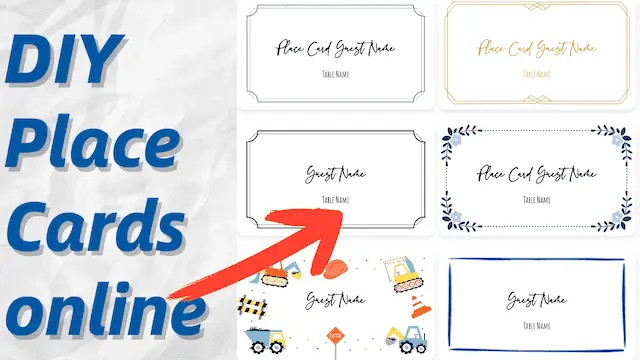
Download and print our free place card templates. Choose from various table name cards and place card layouts. Just set your guest list and select your preferred template

Free Table Name Card Generator