
Place Card Templates
Tired of editing guest names one by one in Word?
Save hours with our Free Online Place Card Maker. Just paste your guest list, choose an elegant design, and download a pre-formatted, print-ready PDF in seconds!
Choose the right printable place card template
Use this page as the main template library. Pick a style, confirm the size, then customize the names and export a clean PDF.
Wedding place card templates
Elegant printable layouts for reception tables, meal choices, table numbers, and guest names.
Blank place card templates
Simple cards you can customize online before downloading a PDF for home printing.
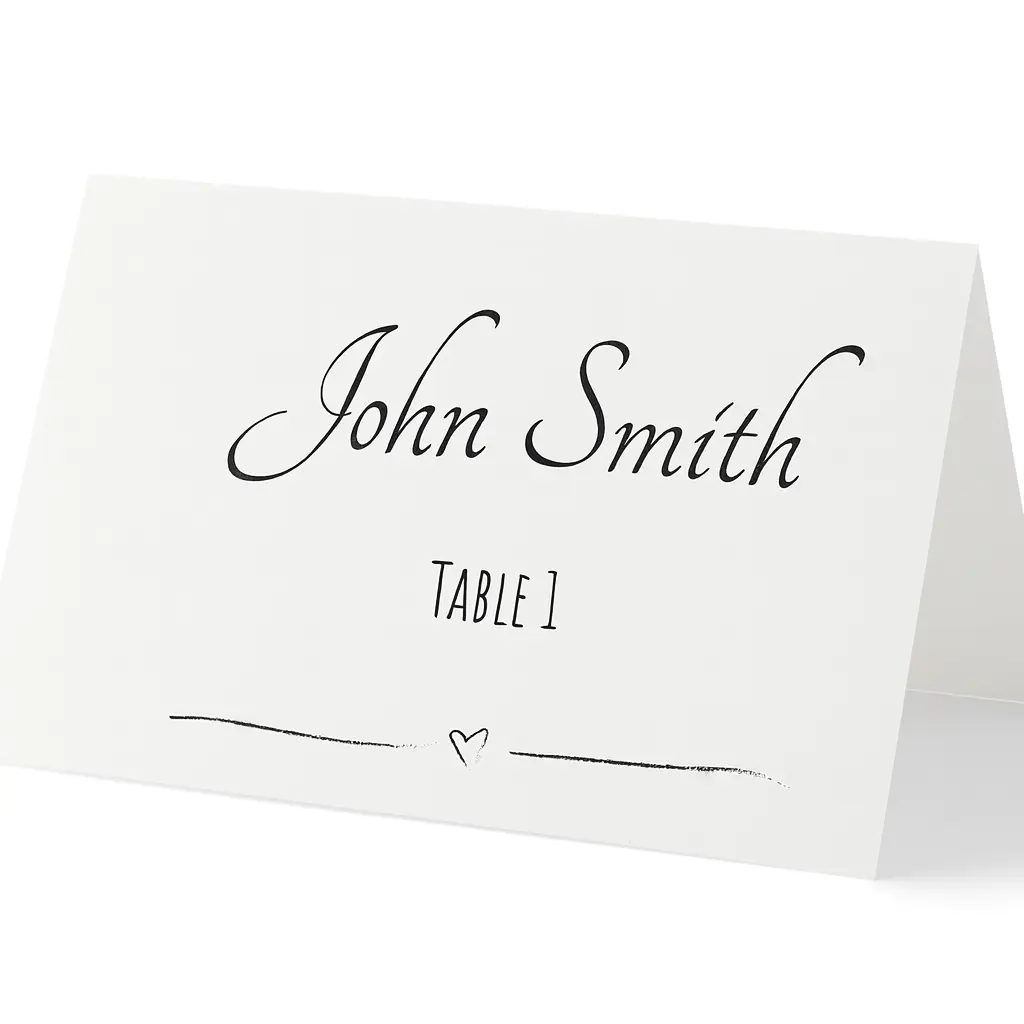
Folded tent cards
Templates for standard tent cards that stand on the table after folding.
3 x 2 place cards
Common finished size for flat cards, folded cards, and many Avery-compatible layouts.
6 per sheet templates
Compact printable layouts when you want multiple cards on one US Letter or A4 sheet.
Word place card templates
Use editable Word templates for small guest lists or manual typing.
PDF place card templates
Export print-ready PDF files with consistent spacing, margins, and cut lines.
Table name cards
Create table cards for dinners, conferences, classrooms, restaurants, and reserved seating.
Browse Free Printable Place Card Templates
Choose a wedding, dinner, floral, minimalist, holiday, or corporate place card template. Each template opens in the online editor so you can add guest names and download a printable PDF.
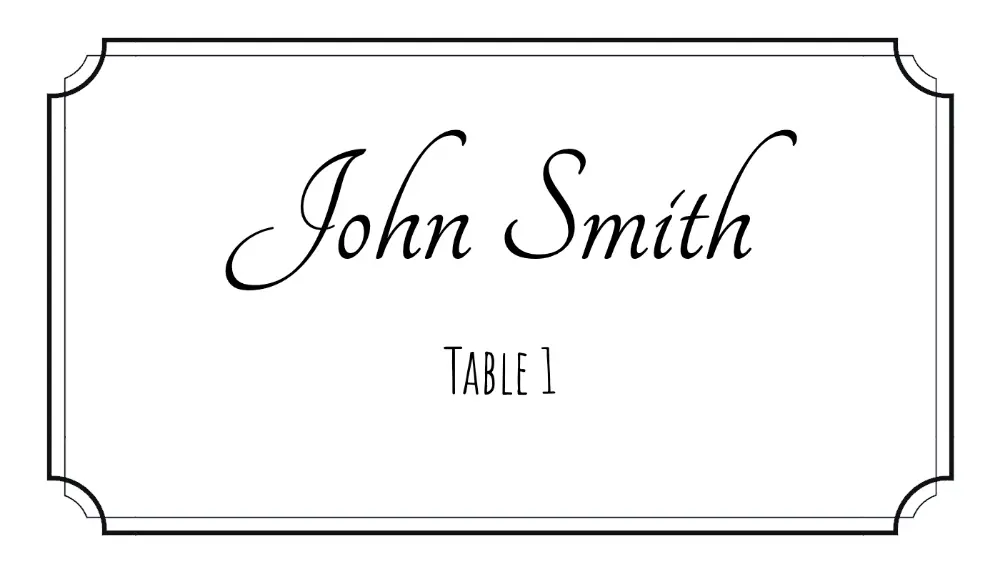
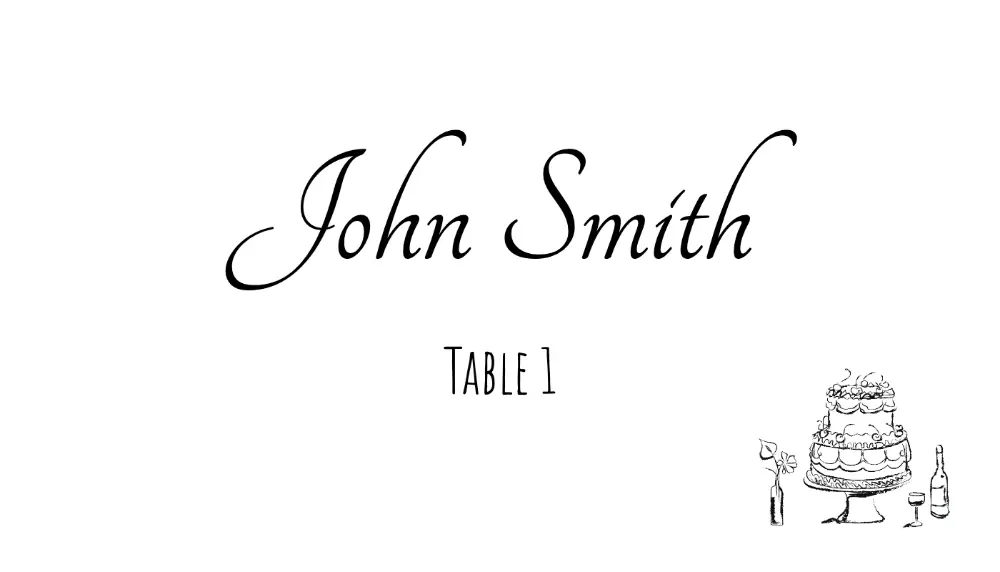
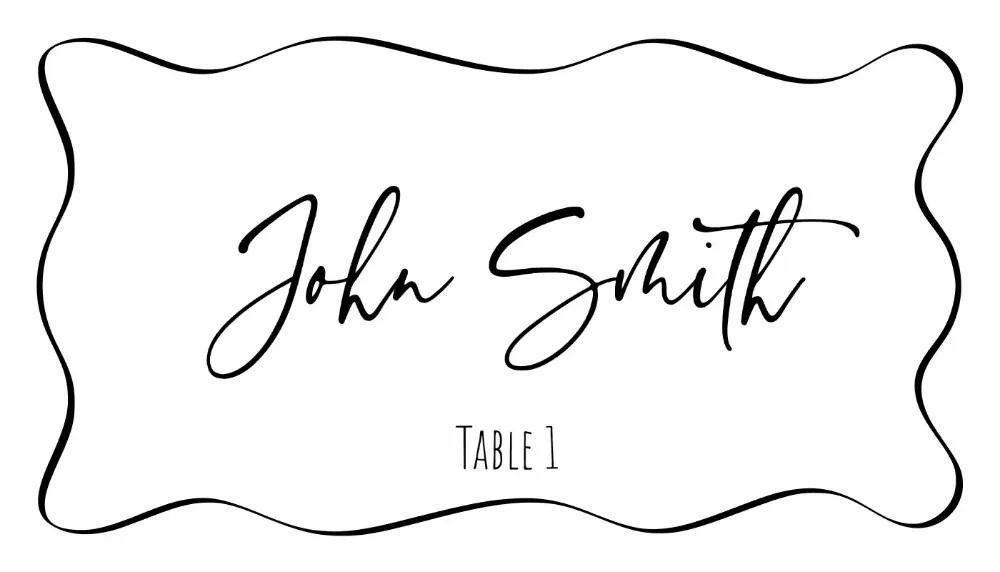
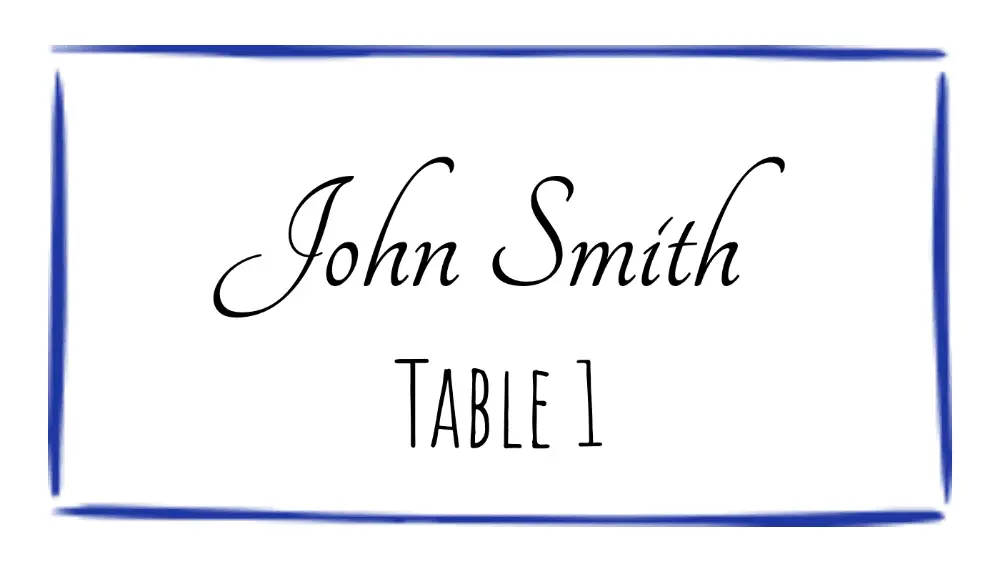
Simple Border Classic
88.9x50.8Simple Border Classic is a minimal place card template designed for modern weddings, dinner parties, and corporate tables.
Formal Classic Border
88.9x50.8Formal Classic Border is a elegant place card template designed for formal dinners, black-tie events, and wedding receptions.
Elegant Frame Classic
88.9x50.8Elegant Frame Classic is a elegant place card template designed for formal dinners, black-tie events, and wedding receptions.
Elegant Gold Luxury
88.9x50.8Elegant Gold Luxury is a elegant place card template designed for formal dinners, black-tie events, and wedding receptions.
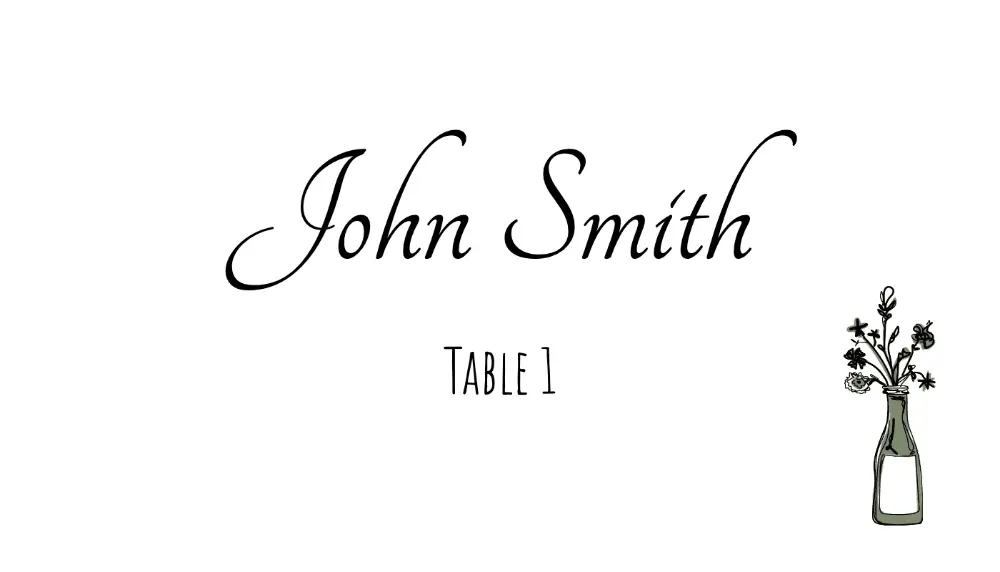
Simple Geometric Modern 2
88.9x50.8Simple Geometric Modern 2 is a minimal place card template designed for modern weddings, dinner parties, and corporate tables.
Birthday Balloons Colorful
88.9x50.8Birthday Balloons Colorful is a birthday place card template designed for birthday dinners, celebrations, and private parties.
Birthday Floral Elegant 1
88.9x50.8Birthday Floral Elegant 1 is a birthday place card template designed for birthday dinners, celebrations, and private parties.
Birthday Floral Elegant 2
88.9x50.8Birthday Floral Elegant 2 is a birthday place card template designed for birthday dinners, celebrations, and private parties.
Birthday Floral Elegant 3
88.9x50.8Birthday Floral Elegant 3 is a birthday place card template designed for birthday dinners, celebrations, and private parties.
Birthday Floral Elegant 4
88.9x50.8Birthday Floral Elegant 4 is a birthday place card template designed for birthday dinners, celebrations, and private parties.
Birthday Simple Modern
88.9x50.8Birthday Simple Modern is a birthday place card template designed for birthday dinners, celebrations, and private parties.
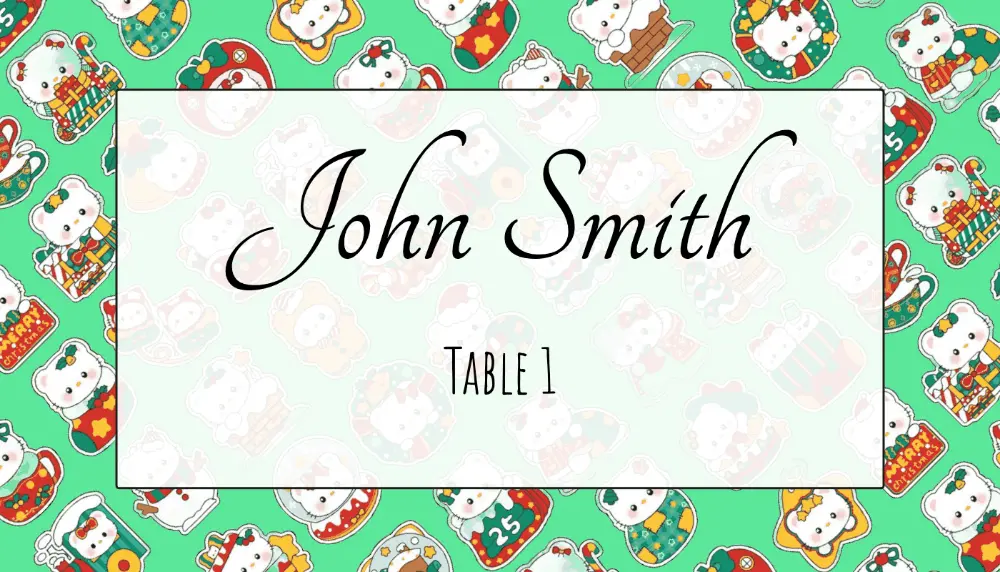
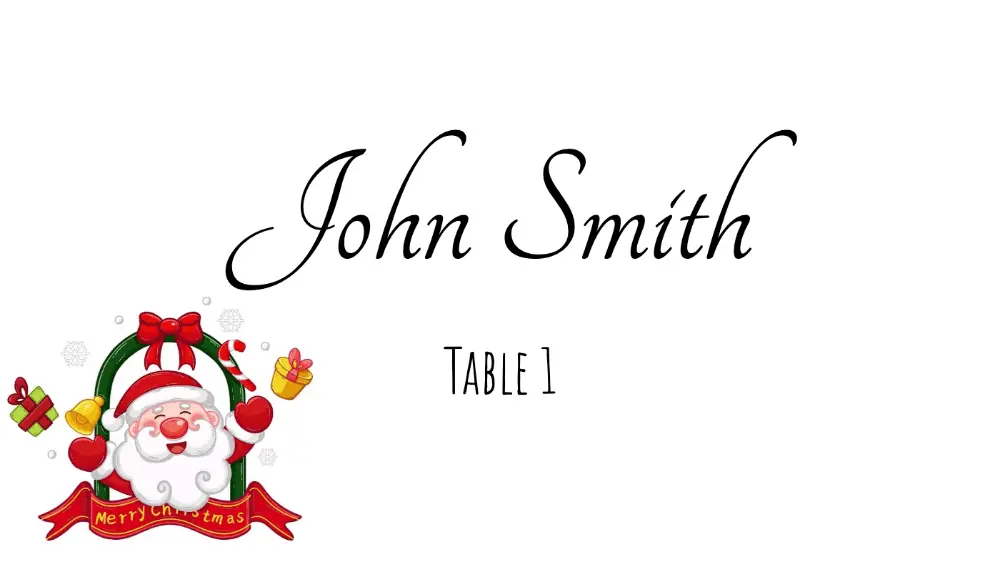
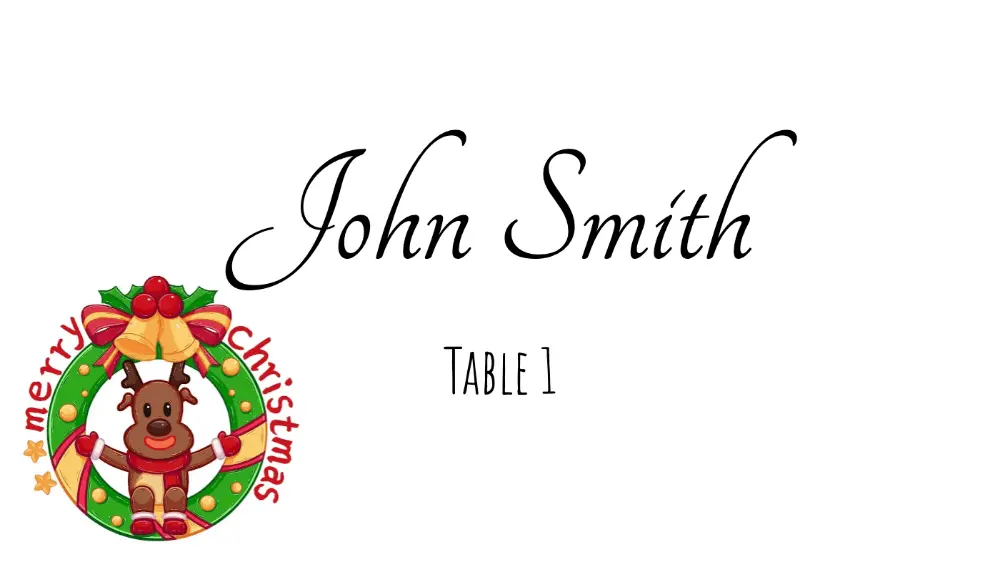
Christmas Cute Character Green
88.9x50.8Christmas Cute Character Green is a holiday place card template designed for holiday dinners, Christmas parties, and seasonal events.
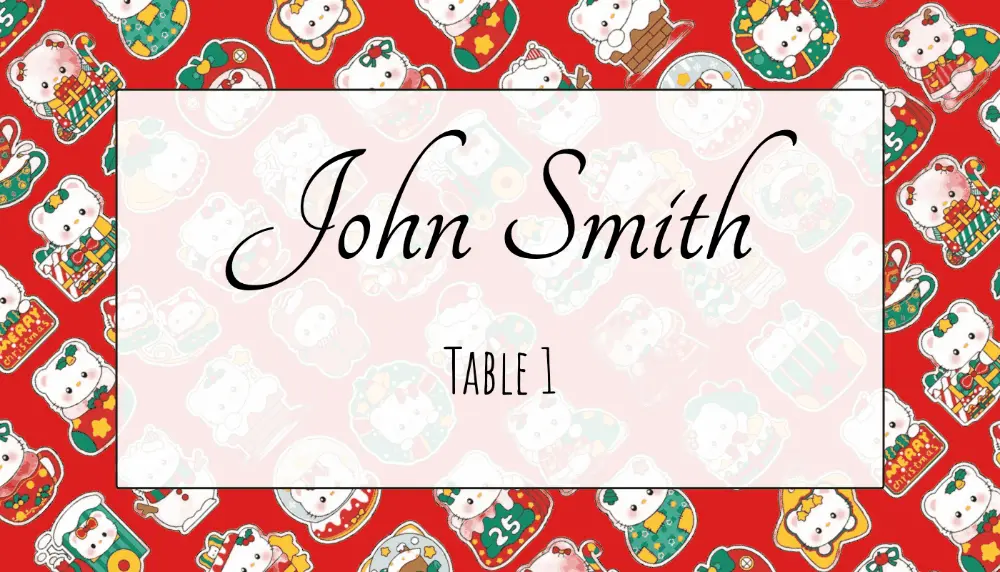
Christmas Cute Character Red
88.9x50.8Christmas Cute Character Red is a holiday place card template designed for holiday dinners, Christmas parties, and seasonal events.
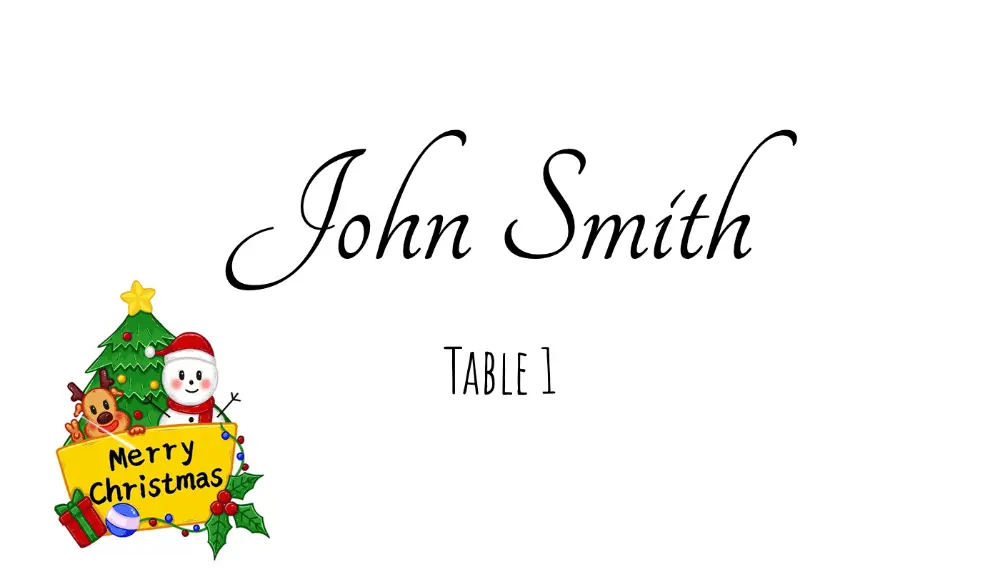
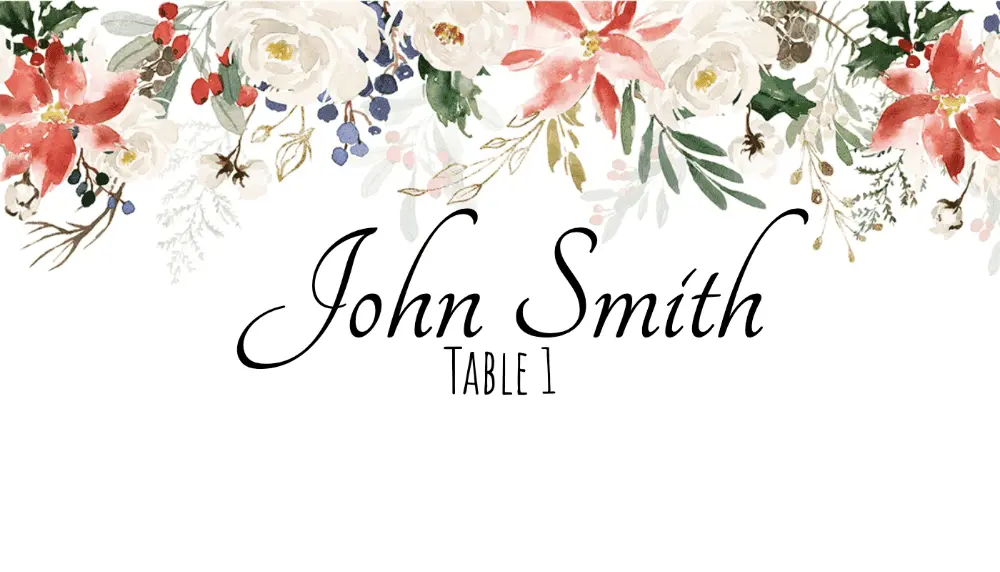
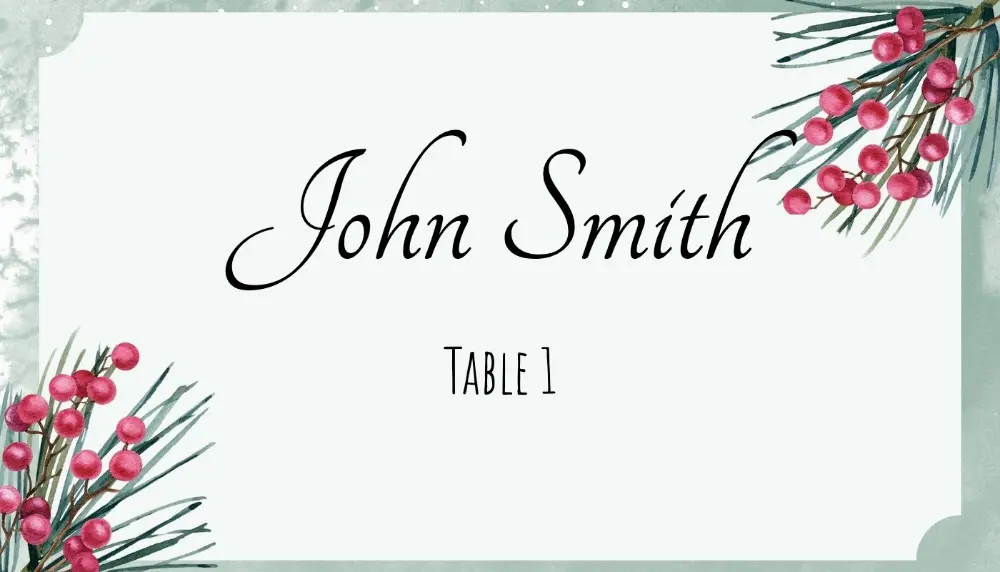
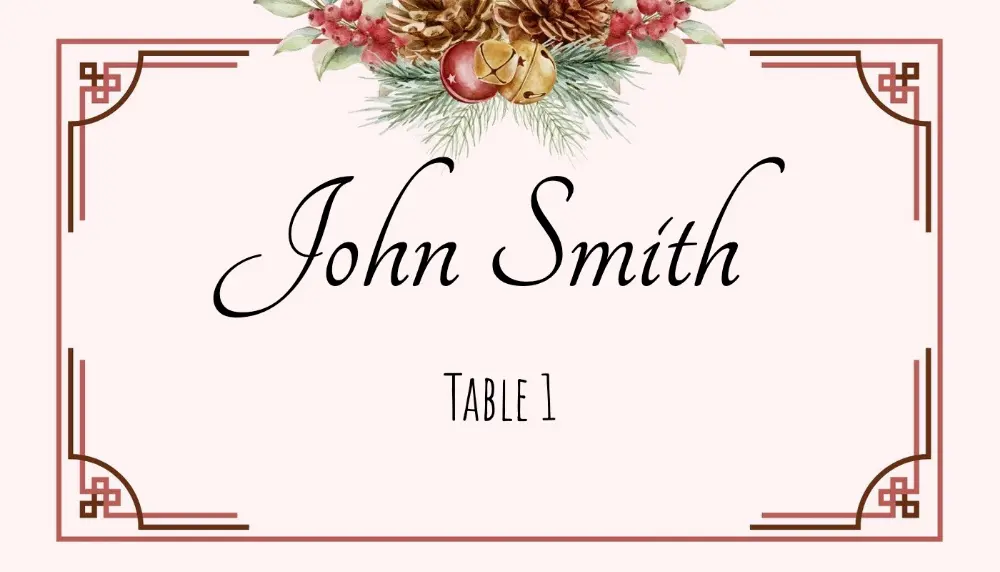
Christmas Holly Elegant 1
88.9x50.8Christmas Holly Elegant 1 is a holiday place card template designed for holiday dinners, Christmas parties, and seasonal events.
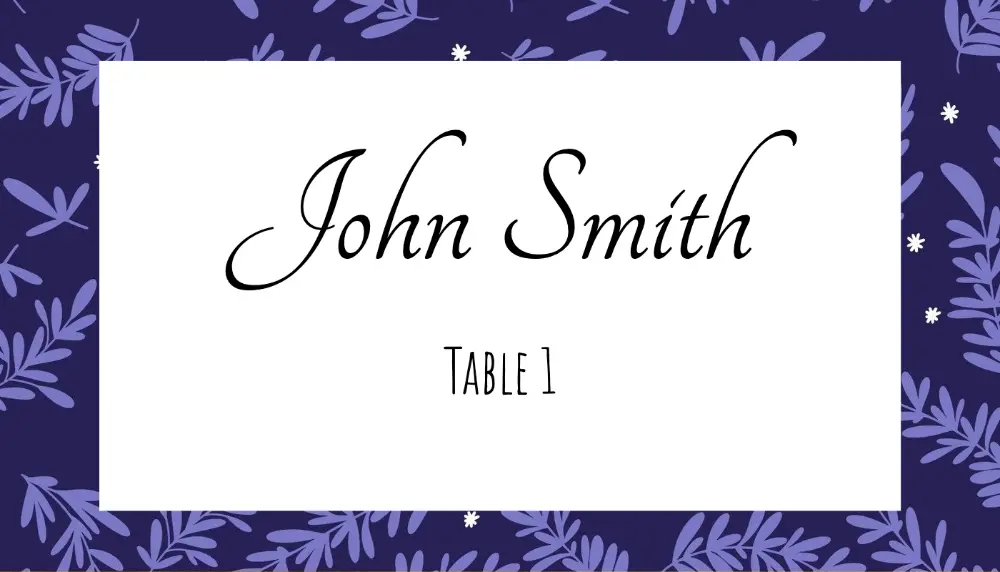
Christmas Holly Elegant 2
88.9x50.8Christmas Holly Elegant 2 is a holiday place card template designed for holiday dinners, Christmas parties, and seasonal events.
Christmas Holly Elegant 3
88.9x50.8Christmas Holly Elegant 3 is a holiday place card template designed for holiday dinners, Christmas parties, and seasonal events.
Christmas Holly Elegant 4
88.9x50.8Christmas Holly Elegant 4 is a holiday place card template designed for holiday dinners, Christmas parties, and seasonal events.
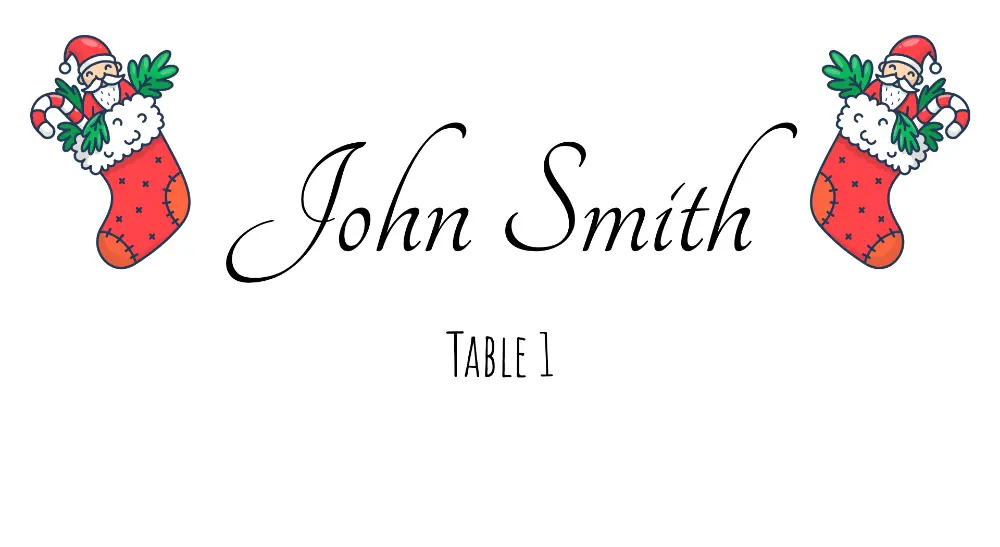
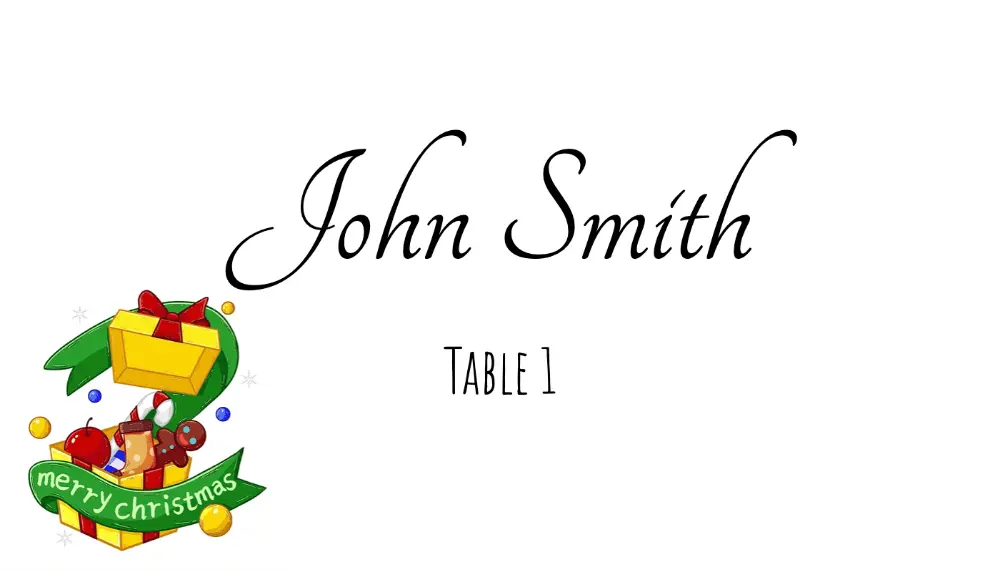
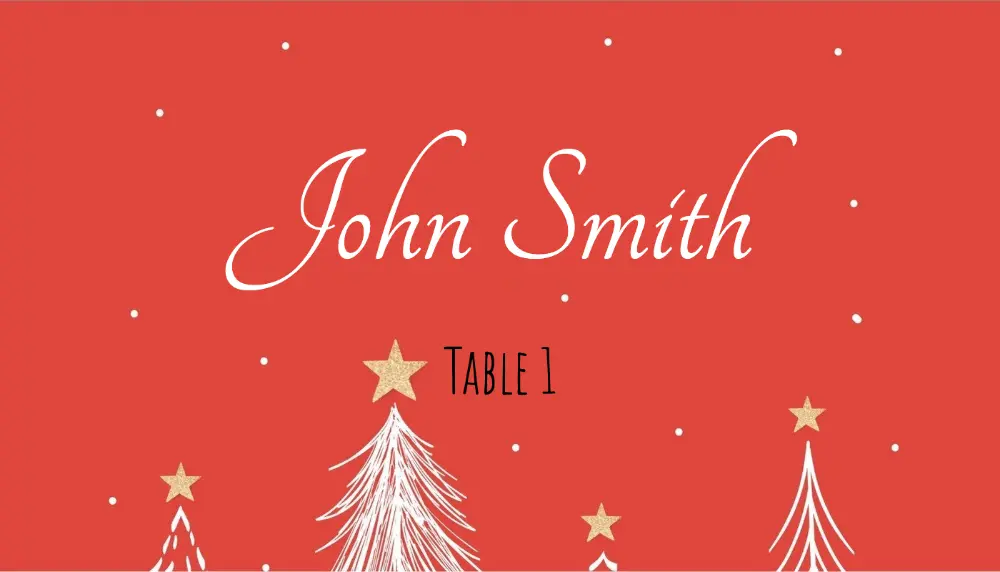
Christmas Stockings Festive
88.9x50.8Christmas Stockings Festive is a holiday place card template designed for holiday dinners, Christmas parties, and seasonal events.
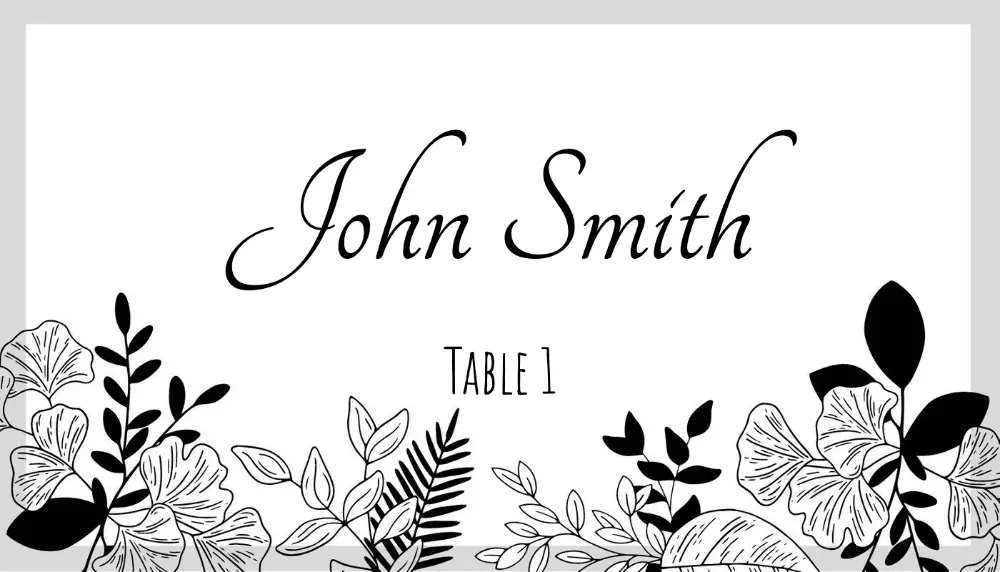
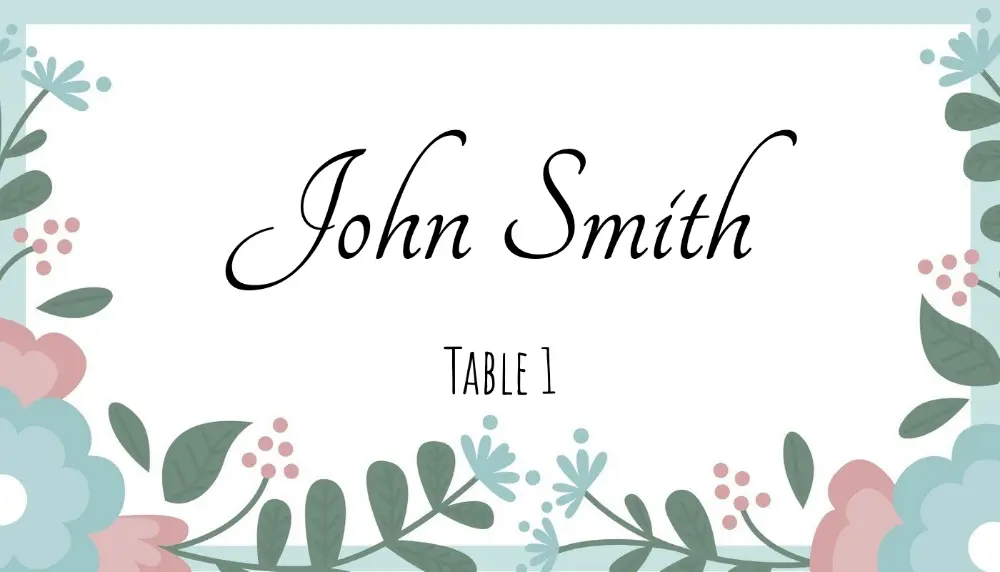
Cute Decorative Pastel
88.9x50.8Cute Decorative Pastel is a printable place card template designed for weddings, dinners, banquets, and event seating.
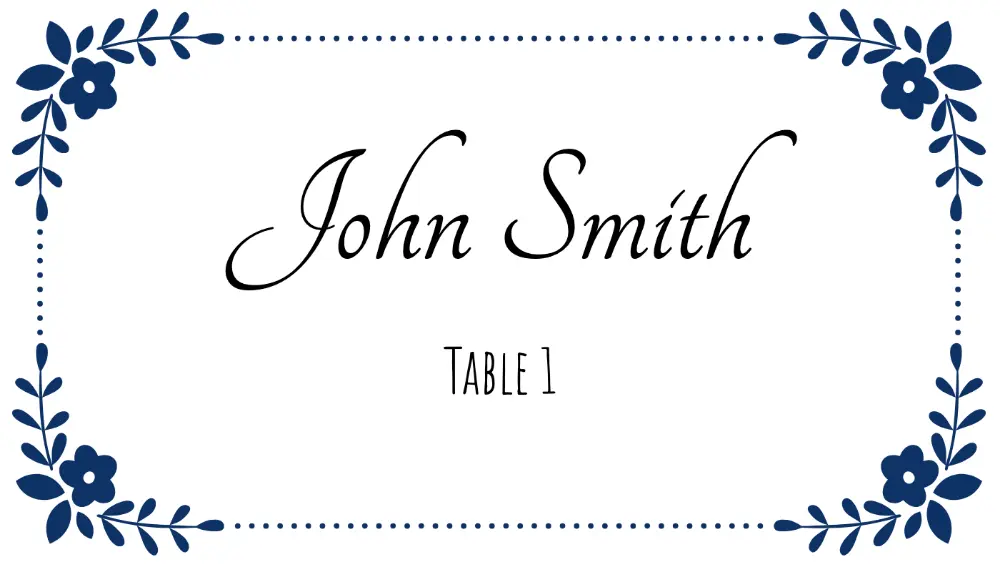
Elegant Border Classic 1
88.9x50.8Elegant Border Classic 1 is a elegant place card template designed for formal dinners, black-tie events, and wedding receptions.

Elegant Border Classic 2
88.9x50.8Elegant Border Classic 2 is a elegant place card template designed for formal dinners, black-tie events, and wedding receptions.
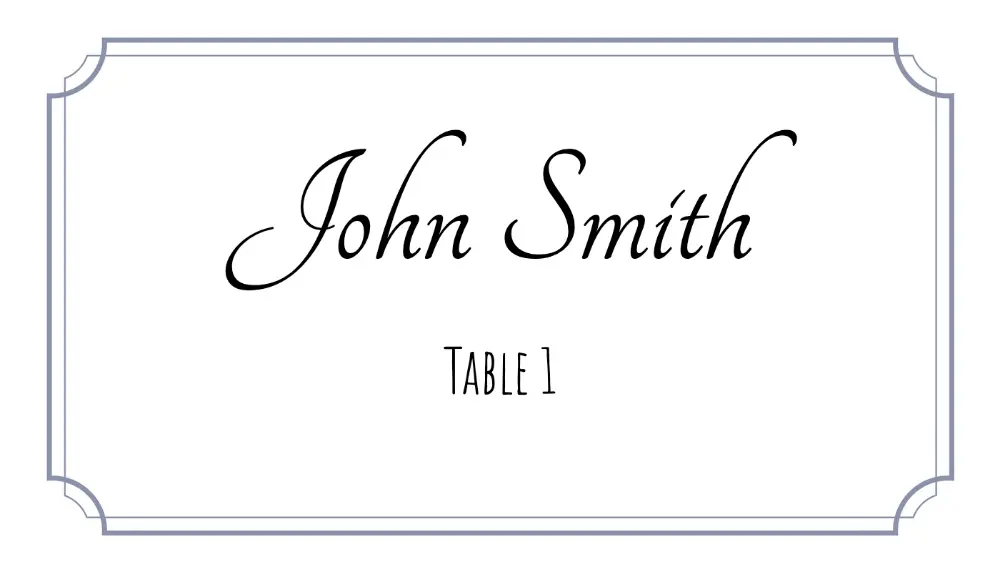
Elegant Border Simple
88.9x50.8Elegant Border Simple is a elegant place card template designed for formal dinners, black-tie events, and wedding receptions.

Elegant Decorative Border
88.9x50.8Elegant Decorative Border is a elegant place card template designed for formal dinners, black-tie events, and wedding receptions.

Elegant Gold Ornate
88.9x50.8Elegant Gold Ornate is a elegant place card template designed for formal dinners, black-tie events, and wedding receptions.
Elegant Ornate Vintage
88.9x50.8Elegant Ornate Vintage is a elegant place card template designed for formal dinners, black-tie events, and wedding receptions.
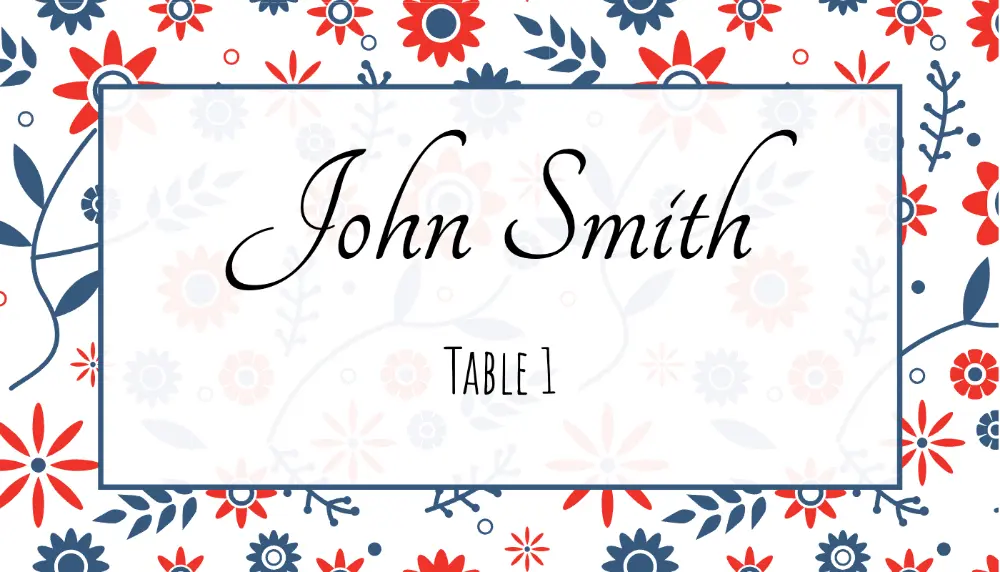
Elegant Pattern Decorative 1
88.9x50.8Elegant Pattern Decorative 1 is a elegant place card template designed for formal dinners, black-tie events, and wedding receptions.
Elegant Pattern Decorative 2
88.9x50.8Elegant Pattern Decorative 2 is a elegant place card template designed for formal dinners, black-tie events, and wedding receptions.
Elegant Pattern Decorative 3
88.9x50.8Elegant Pattern Decorative 3 is a elegant place card template designed for formal dinners, black-tie events, and wedding receptions.
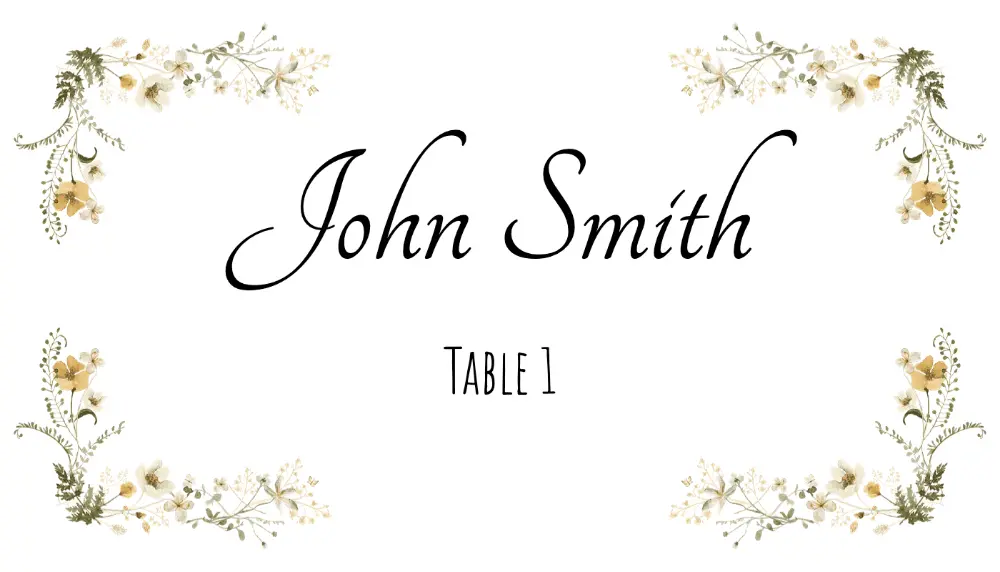
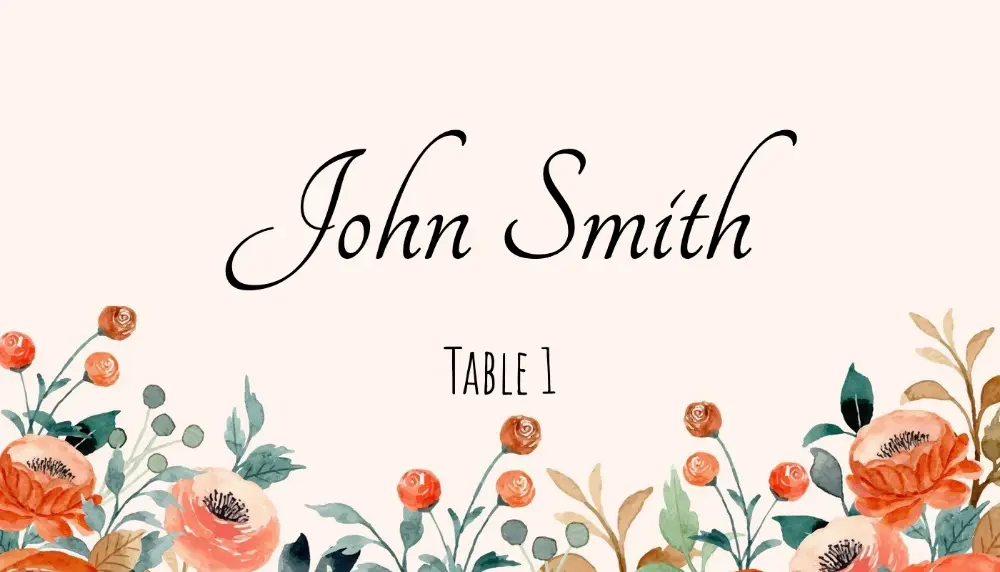
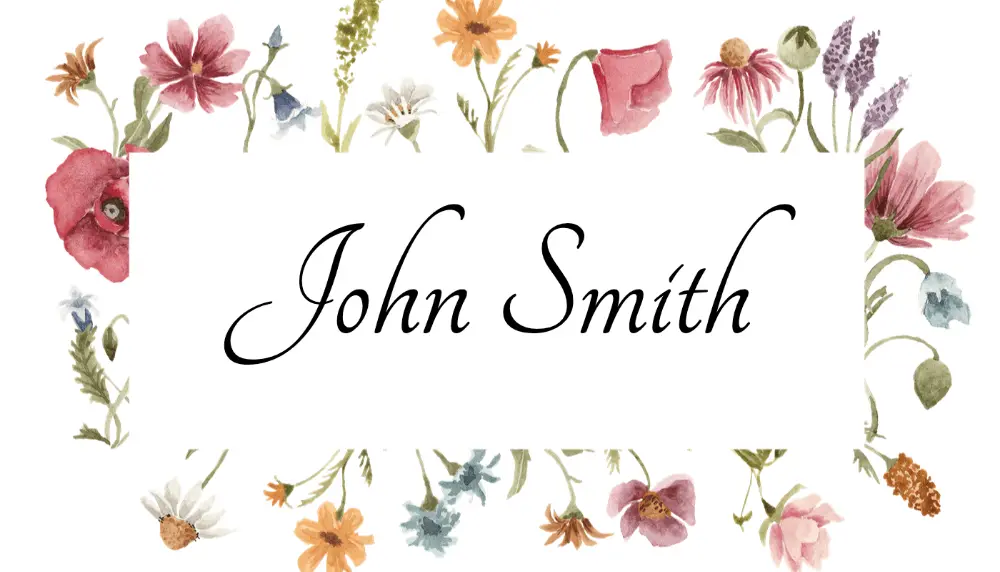
Floral Border Elegant 1
88.9x50.8Floral Border Elegant 1 is a floral place card template designed for garden weddings, bridal showers, and elegant dinners.
Floral Border Elegant 2
88.9x50.8Floral Border Elegant 2 is a floral place card template designed for garden weddings, bridal showers, and elegant dinners.
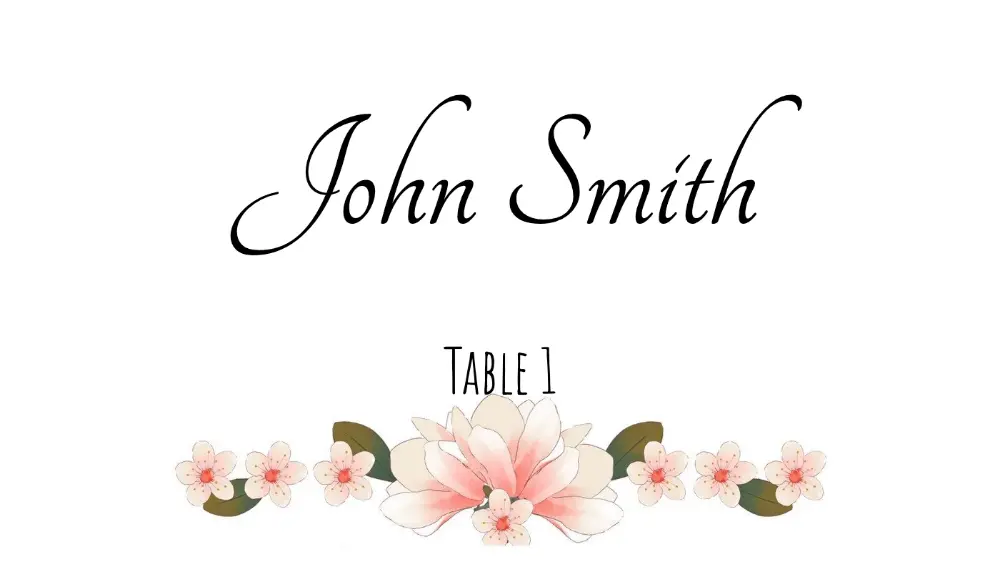
Floral Decorative Elegant
88.9x50.8Floral Decorative Elegant is a floral place card template designed for garden weddings, bridal showers, and elegant dinners.
Floral Decorative Vintage
88.9x50.8Floral Decorative Vintage is a floral place card template designed for garden weddings, bridal showers, and elegant dinners.
Floral Elegant Border 1
88.9x50.8Floral Elegant Border 1 is a floral place card template designed for garden weddings, bridal showers, and elegant dinners.

Floral Elegant Vintage
88.9x50.8Floral Elegant Vintage is a floral place card template designed for garden weddings, bridal showers, and elegant dinners.

Floral Frame Elegant
88.9x50.8Floral Frame Elegant is a floral place card template designed for garden weddings, bridal showers, and elegant dinners.

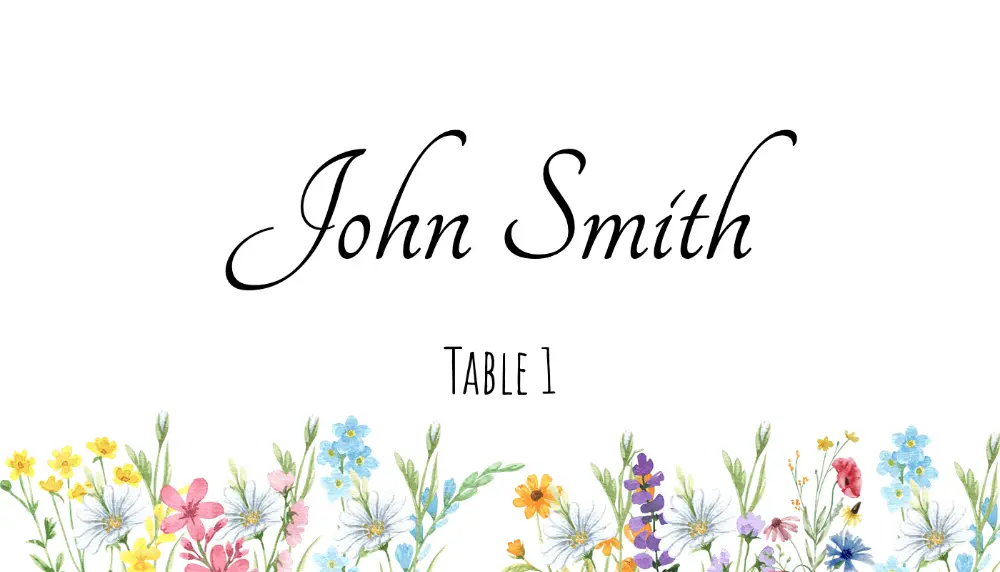
Floral Garden Elegant
88.9x50.8Floral Garden Elegant is a floral place card template designed for garden weddings, bridal showers, and elegant dinners.
Floral Square Modern
88.9x50.8Floral Square Modern is a floral place card template designed for garden weddings, bridal showers, and elegant dinners.
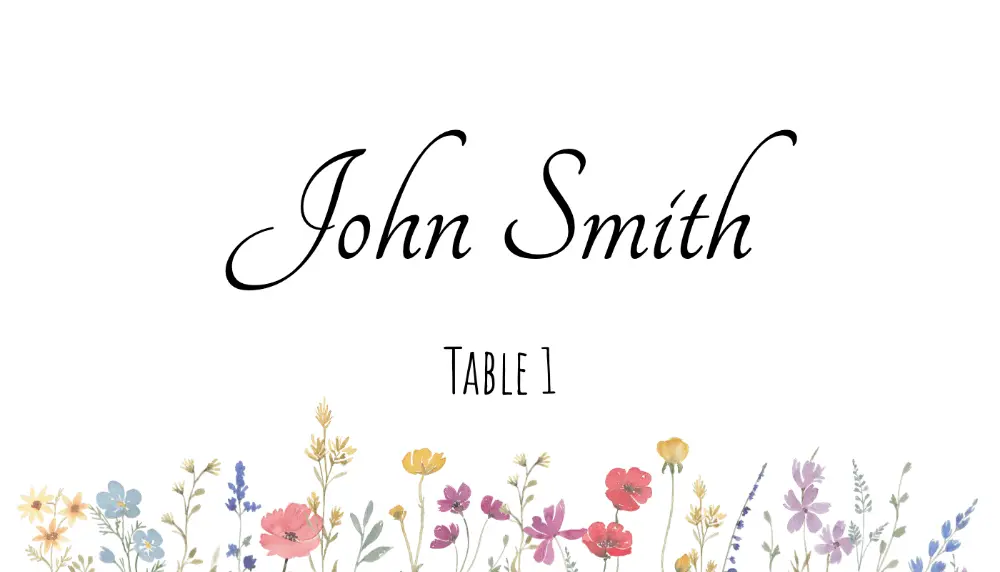
Floral Vintage Decorative 1
88.9x50.8Floral Vintage Decorative 1 is a floral place card template designed for garden weddings, bridal showers, and elegant dinners.
Formal Dinner Elegant
88.9x50.8Formal Dinner Elegant is a elegant place card template designed for formal dinners, black-tie events, and wedding receptions.

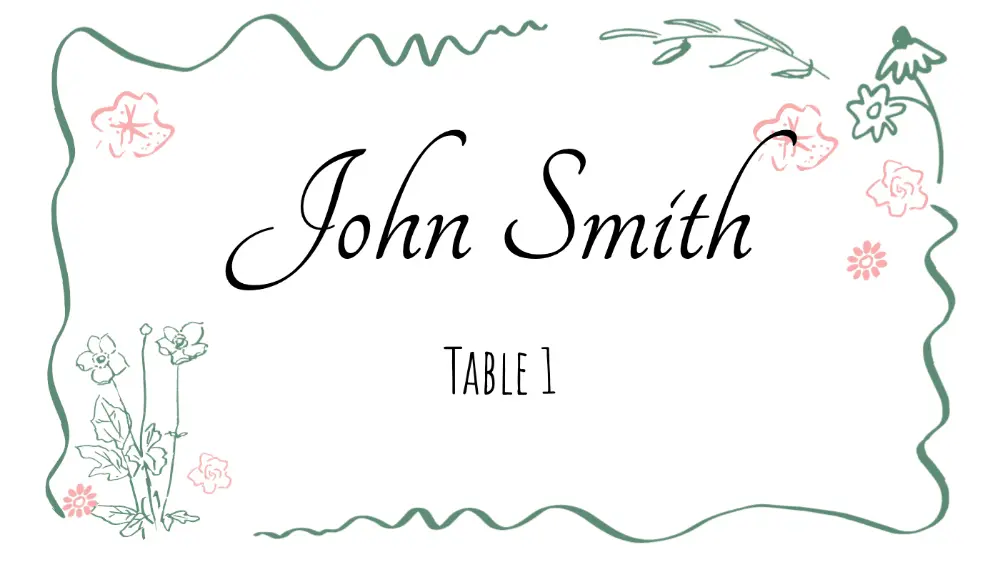
Frame 1
88.9x50.8Frame 1 is a printable place card template designed for weddings, dinners, banquets, and event seating.
Frame 10
88.9x50.8Frame 10 is a printable place card template designed for weddings, dinners, banquets, and event seating.

Frame 11
88.9x50.8Frame 11 is a printable place card template designed for weddings, dinners, banquets, and event seating.
Frame 12
88.9x50.8Frame 12 is a printable place card template designed for weddings, dinners, banquets, and event seating.

Frame 13
88.9x50.8Frame 13 is a printable place card template designed for weddings, dinners, banquets, and event seating.

Frame 2
88.9x50.8Frame 2 is a printable place card template designed for weddings, dinners, banquets, and event seating.
Frame 3
88.9x50.8Frame 3 is a printable place card template designed for weddings, dinners, banquets, and event seating.
Frame 4
88.9x50.8Frame 4 is a printable place card template designed for weddings, dinners, banquets, and event seating.

Frame 5
88.9x50.8Frame 5 is a printable place card template designed for weddings, dinners, banquets, and event seating.

Frame 6
88.9x50.8Frame 6 is a printable place card template designed for weddings, dinners, banquets, and event seating.

Frame 7
88.9x50.8Frame 7 is a printable place card template designed for weddings, dinners, banquets, and event seating.

Frame 8
88.9x50.8Frame 8 is a printable place card template designed for weddings, dinners, banquets, and event seating.

Frame 9
88.9x50.8Frame 9 is a printable place card template designed for weddings, dinners, banquets, and event seating.
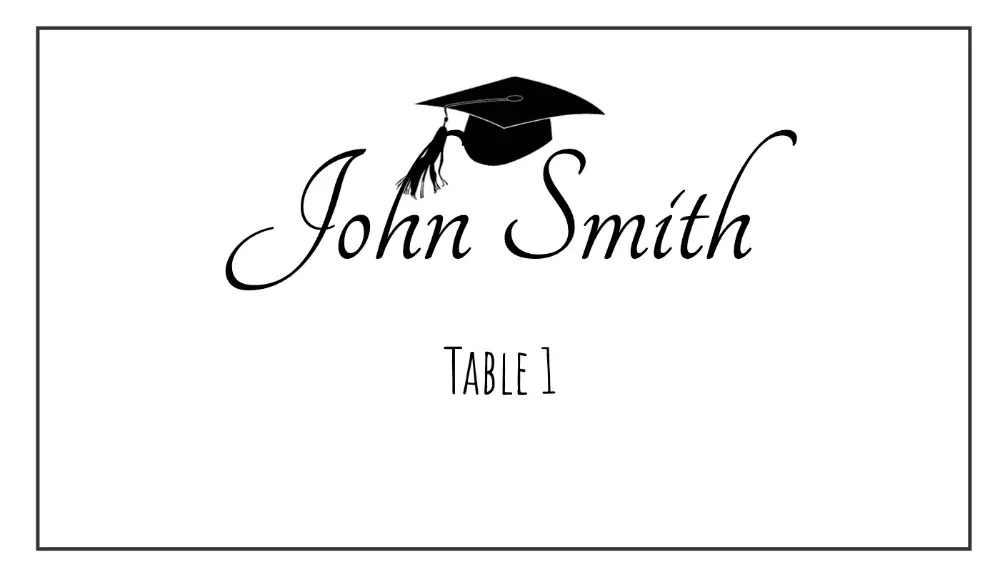
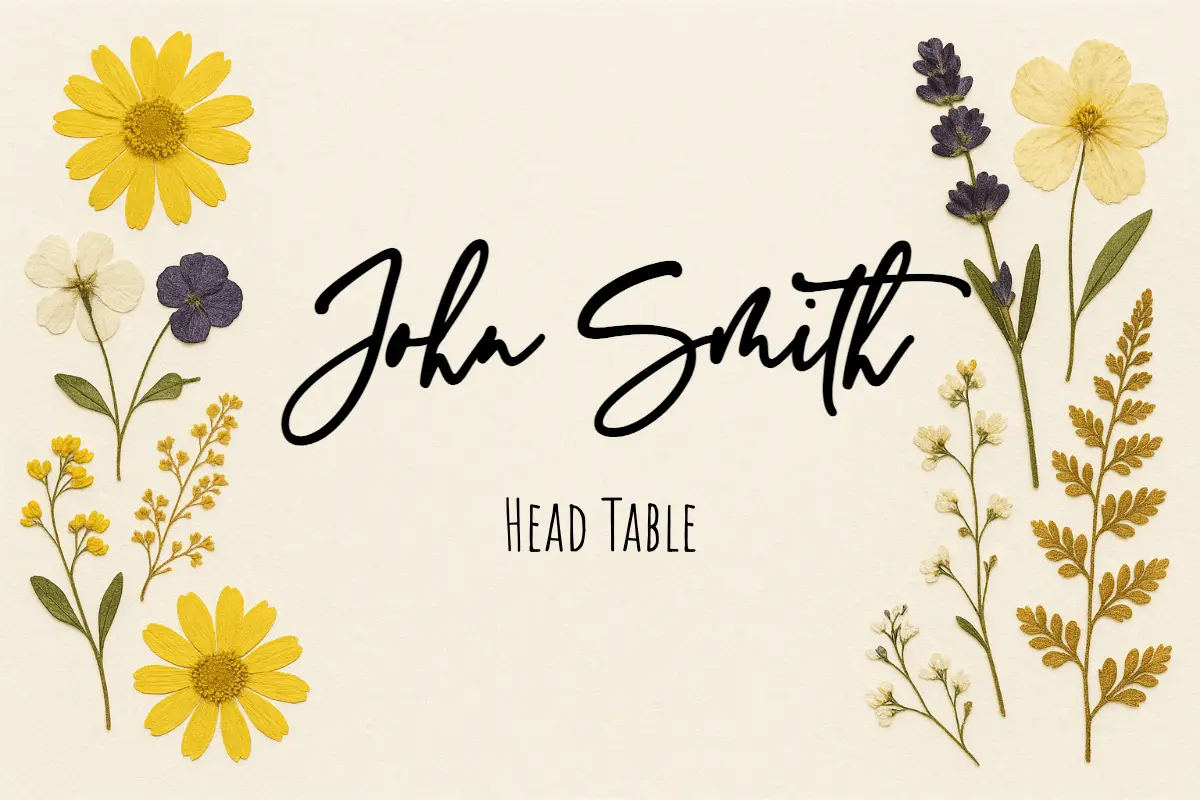
Graduation Academic Formal
88.9x50.8Graduation Academic Formal is a graduation place card template designed for graduation banquets, school events, and formal celebrations.
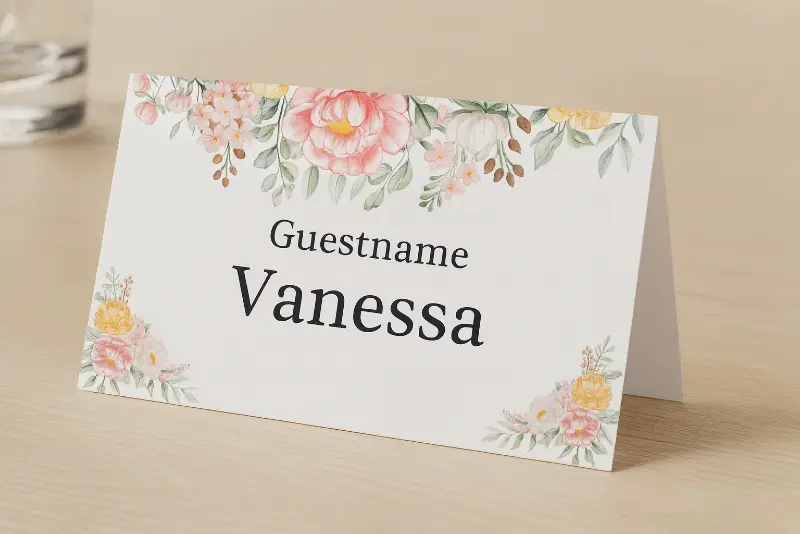
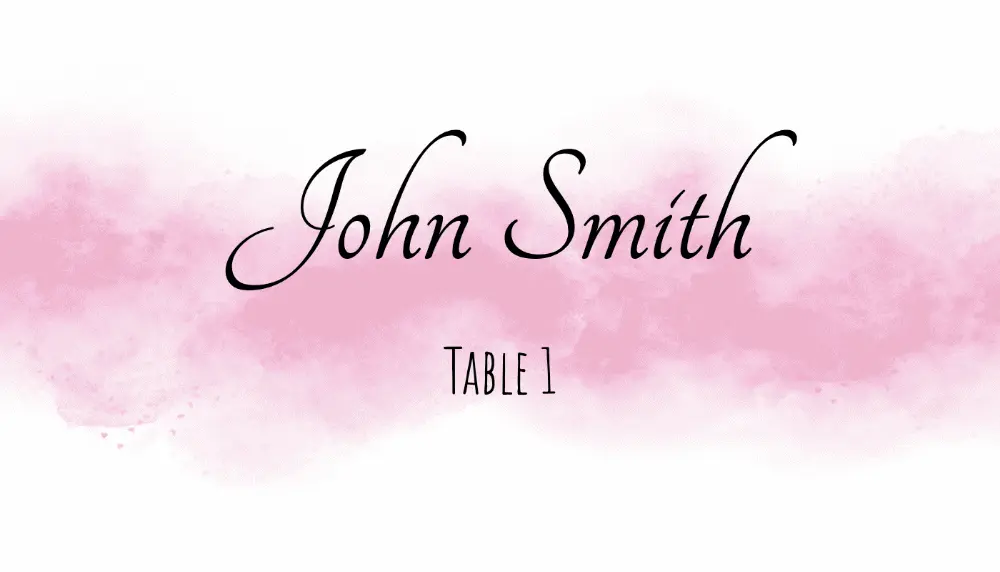
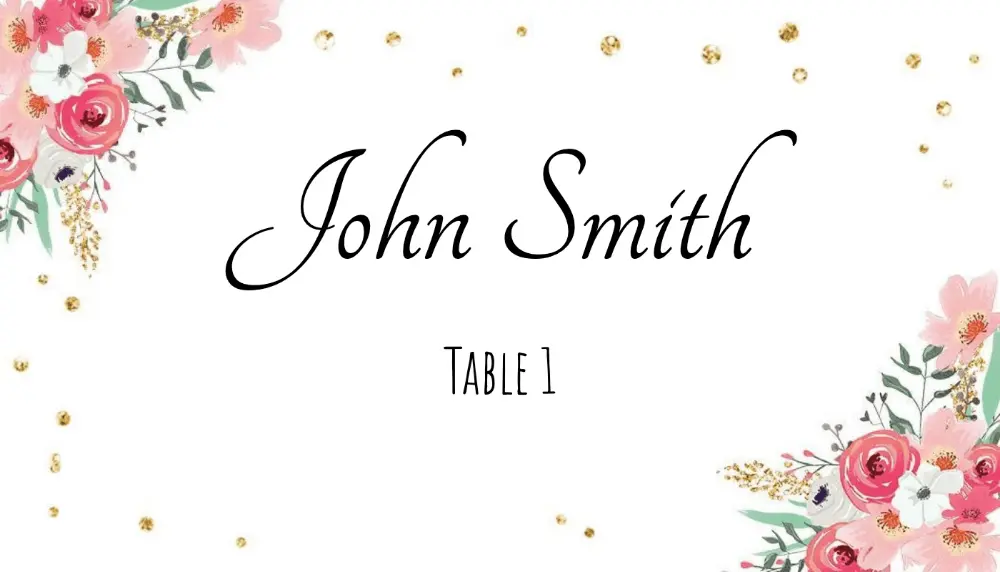
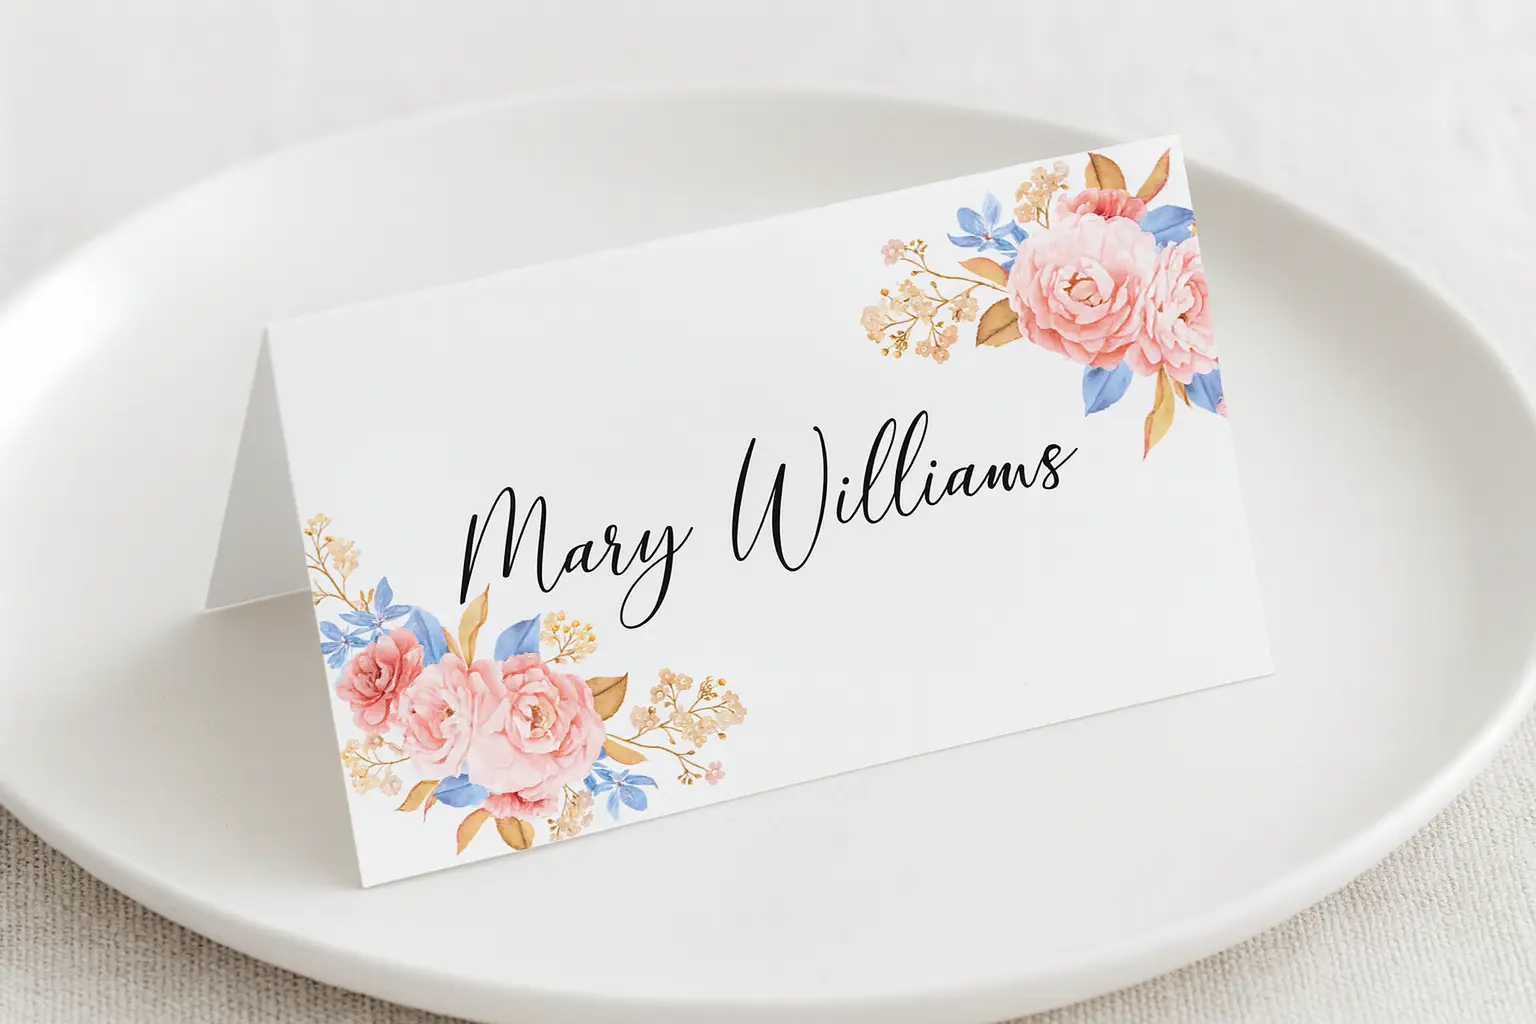
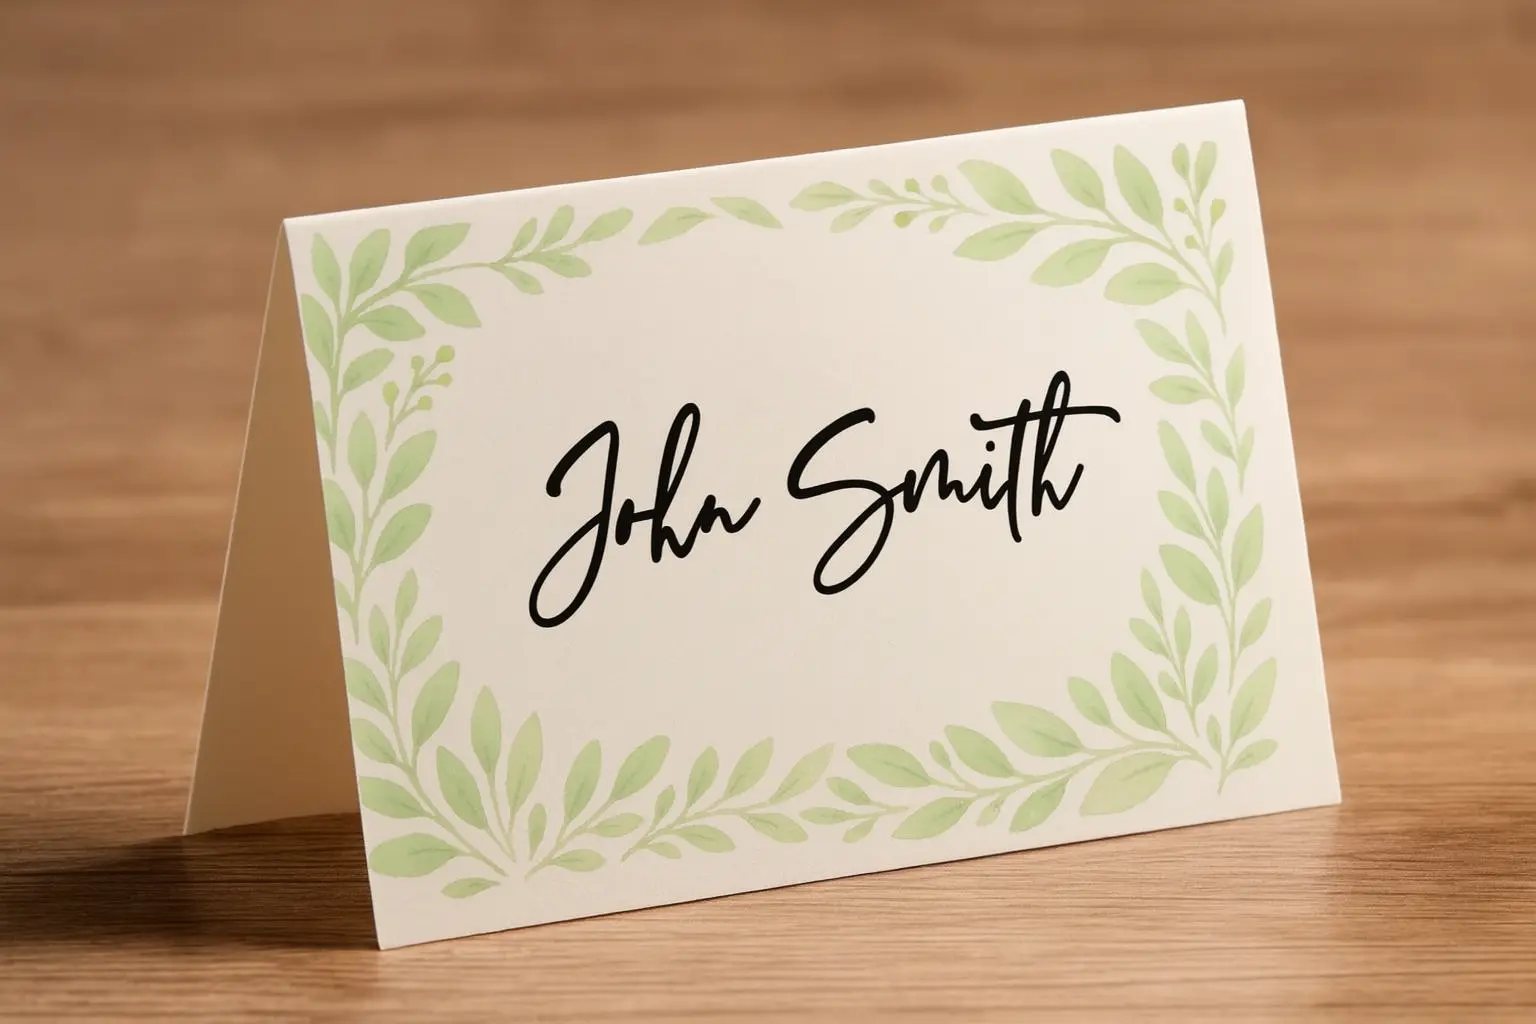
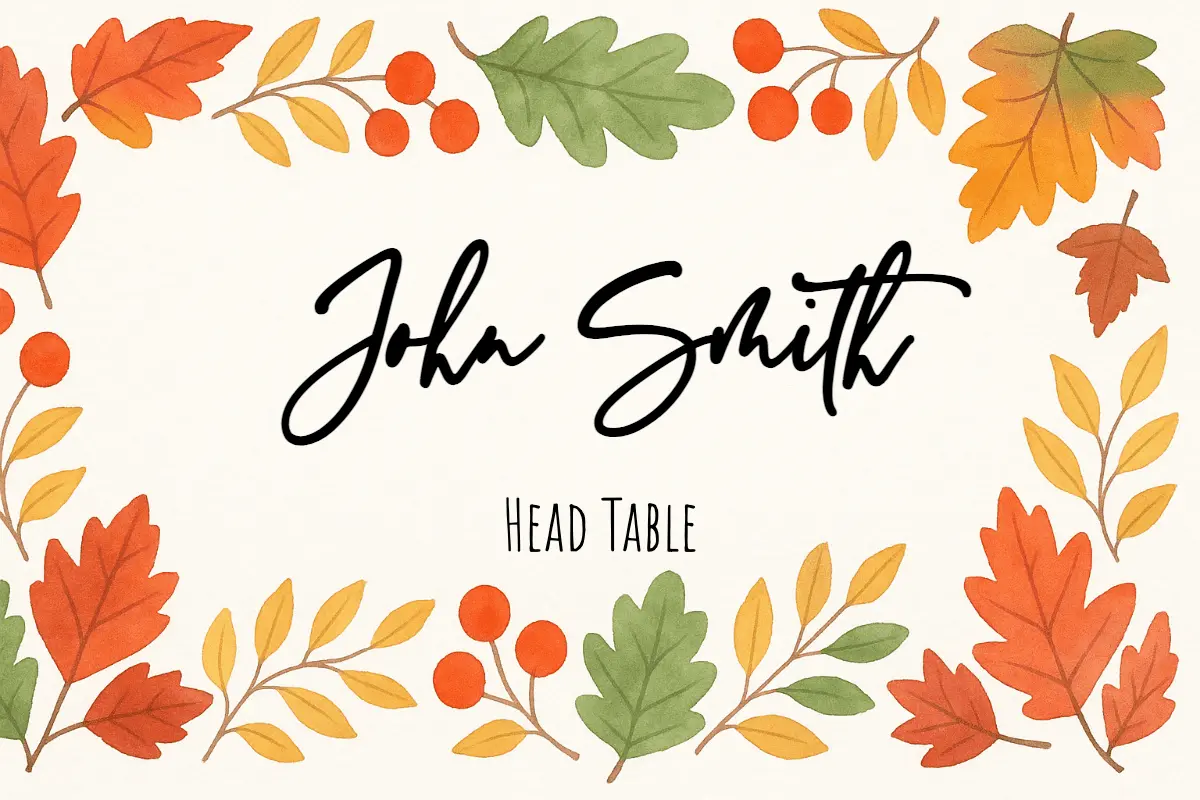
Pink Beige Floral Watercolor Wedding Party
88.9x50.8Pink Beige Floral Watercolor Wedding Party is a wedding place card template designed for weddings, rehearsal dinners, and reception seating charts.
Pink Beige Watercolor Border
88.9x50.8Pink Beige Watercolor Border is a floral place card template designed for garden weddings, bridal showers, and elegant dinners.
Simple Border Modern 1
88.9x50.8Simple Border Modern 1 is a minimal place card template designed for modern weddings, dinner parties, and corporate tables.
Simple Border Modern 2
88.9x50.8Simple Border Modern 2 is a minimal place card template designed for modern weddings, dinner parties, and corporate tables.
Simple Clean Basic
88.9x50.8Simple Clean Basic is a minimal place card template designed for modern weddings, dinner parties, and corporate tables.
Simple Clean Minimal
88.9x50.8Simple Clean Minimal is a minimal place card template designed for modern weddings, dinner parties, and corporate tables.
Simple Geometric Clean
88.9x50.8Simple Geometric Clean is a minimal place card template designed for modern weddings, dinner parties, and corporate tables.
Simple Geometric Modern 1
88.9x50.8Simple Geometric Modern 1 is a minimal place card template designed for modern weddings, dinner parties, and corporate tables.
Simple Minimal Modern
88.9x50.8Simple Minimal Modern is a minimal place card template designed for modern weddings, dinner parties, and corporate tables.
Simple Modern Clean 1
88.9x50.8Simple Modern Clean 1 is a minimal place card template designed for modern weddings, dinner parties, and corporate tables.

Simple Solid Black
88.9x50.8Simple Solid Black is a minimal place card template designed for modern weddings, dinner parties, and corporate tables.
Simple Solid Blue
88.9x50.8Simple Solid Blue is a minimal place card template designed for modern weddings, dinner parties, and corporate tables.
Simple Square Border
88.9x50.8Simple Square Border is a minimal place card template designed for modern weddings, dinner parties, and corporate tables.
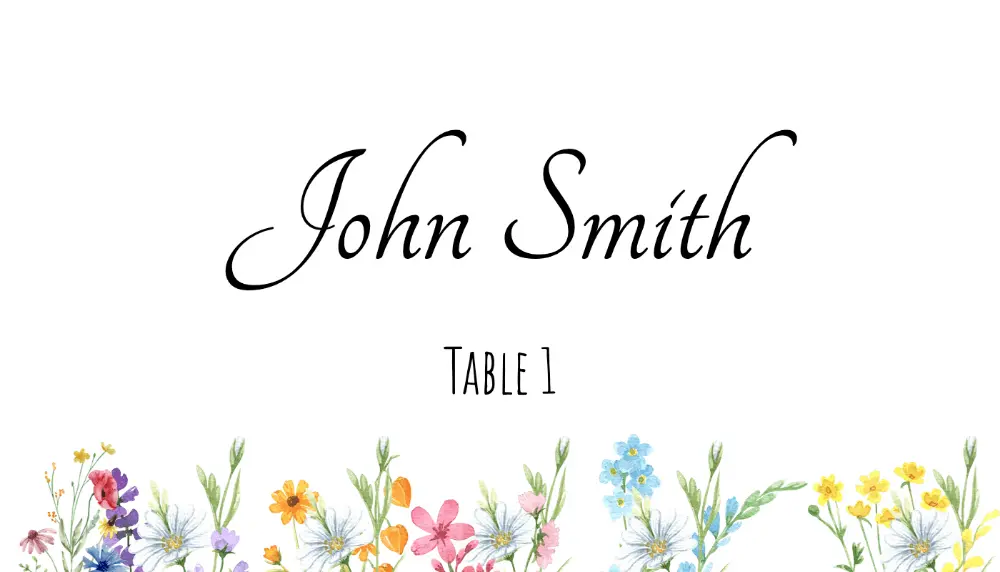
Watercolor Abstract Artistic 1
88.9x50.8Watercolor Abstract Artistic 1 is a floral place card template designed for garden weddings, bridal showers, and elegant dinners.
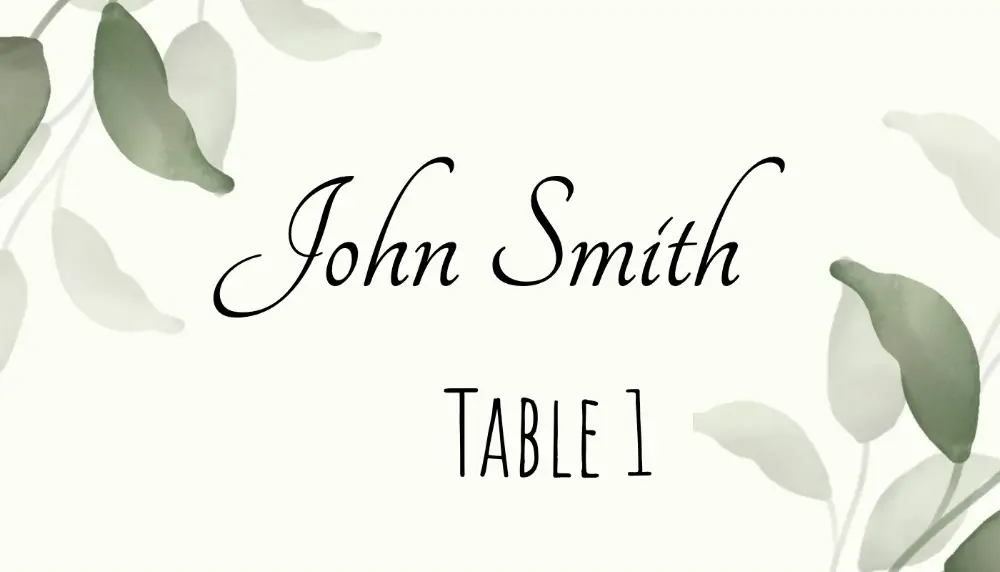
Watercolor Botanical Modern 1
88.9x50.8Watercolor Botanical Modern 1 is a floral place card template designed for garden weddings, bridal showers, and elegant dinners.
Watercolor Floral Delicate 1
88.9x50.8Watercolor Floral Delicate 1 is a floral place card template designed for garden weddings, bridal showers, and elegant dinners.
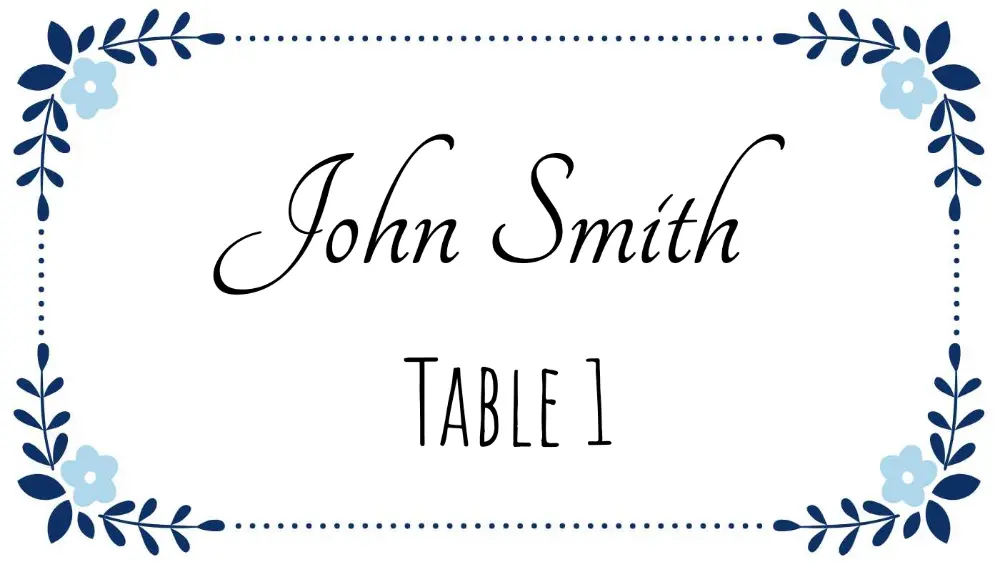
Wedding Classic Elegant
88.9x50.8Wedding Classic Elegant is a wedding place card template designed for weddings, rehearsal dinners, and reception seating charts.

Wedding Floral Square Elegant
88.9x50.8Wedding Floral Square Elegant is a wedding place card template designed for weddings, rehearsal dinners, and reception seating charts.
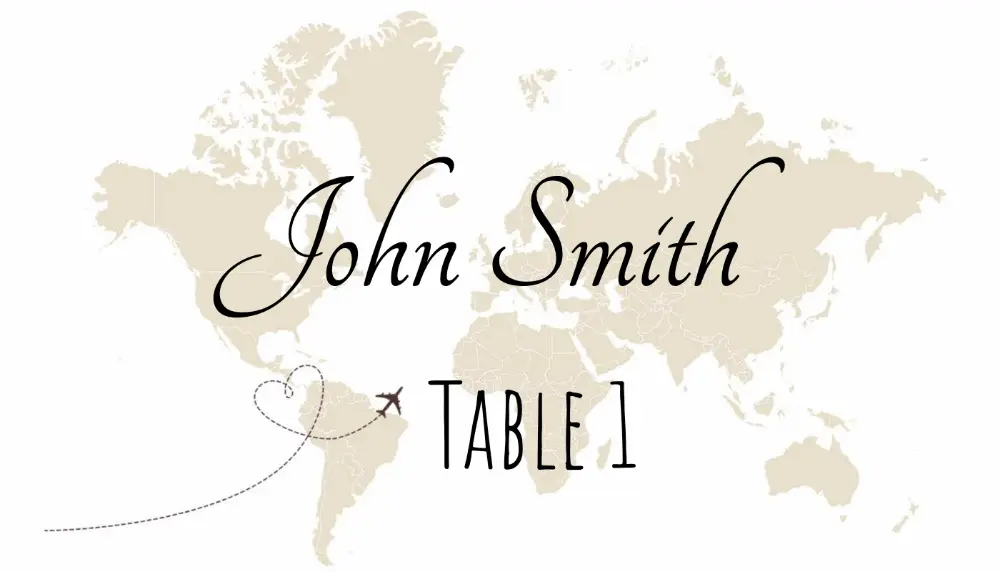
Wedding Travel Vintage
88.9x50.8Wedding Travel Vintage is a wedding place card template designed for weddings, rehearsal dinners, and reception seating charts.
Word, PDF, and online editing options
Different events need different workflows. Start with the format that matches how many names you need to print.
Use Word for small lists
Download a Word place card template when you only need a few cards and want to type names manually.
Use PDF for final printing
PDF exports keep the card size, margins, and layout stable when you print at 100% scale.
Use the online maker for guest lists
Import Excel, CSV, or Google Sheets when you have many guests and want every card generated automatically.
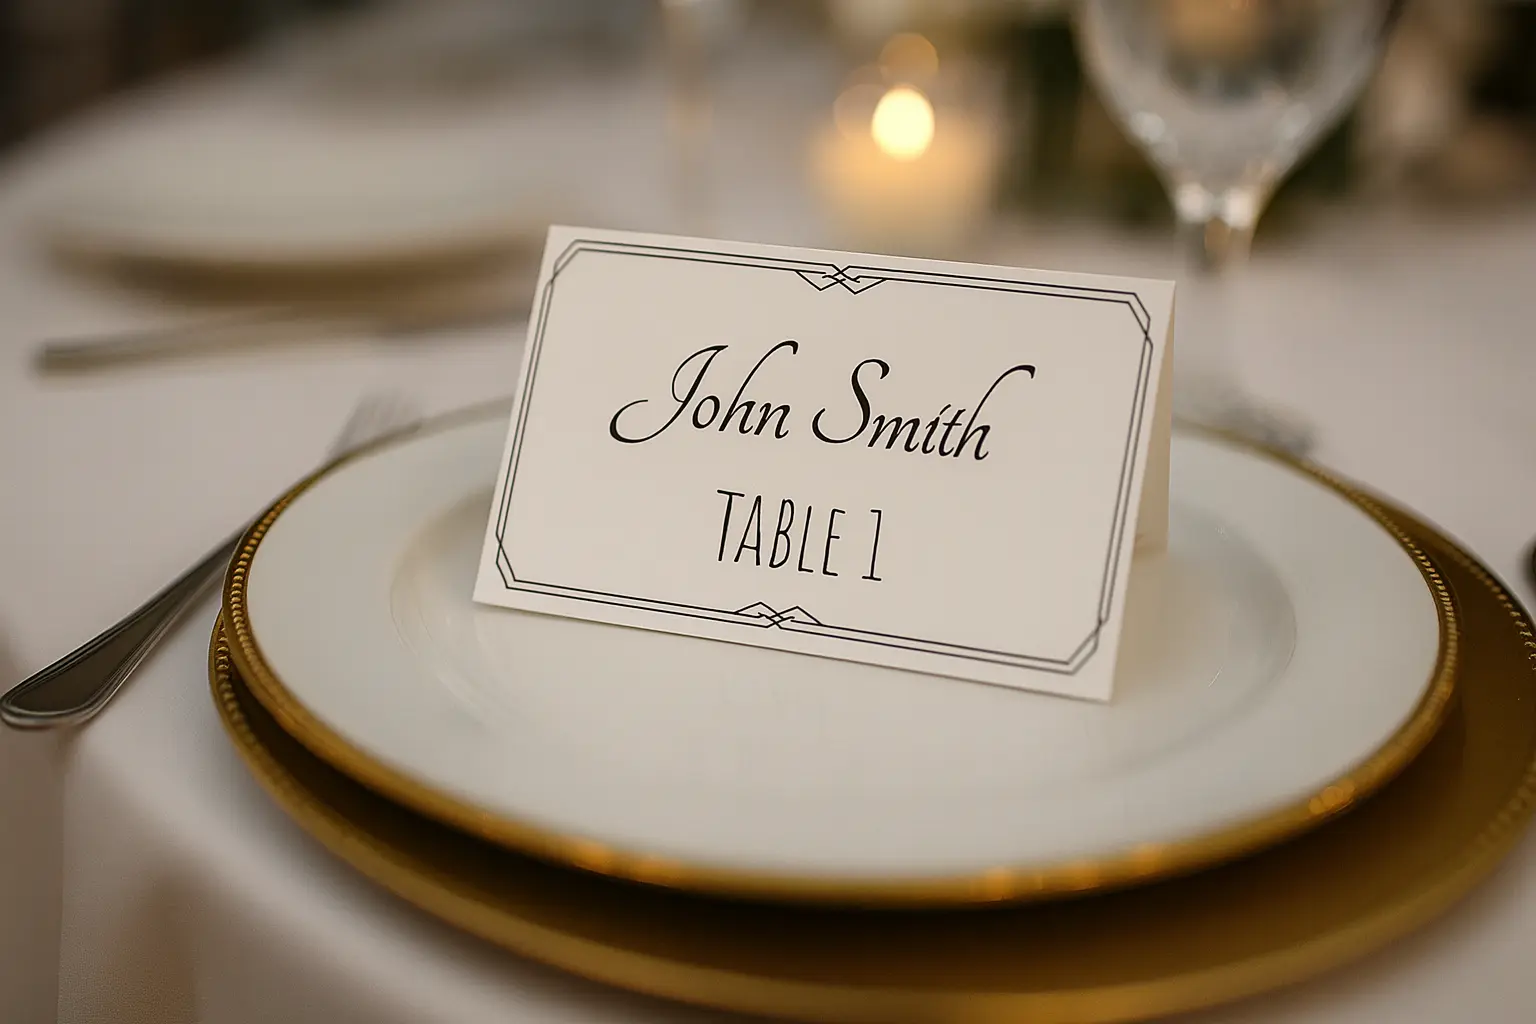
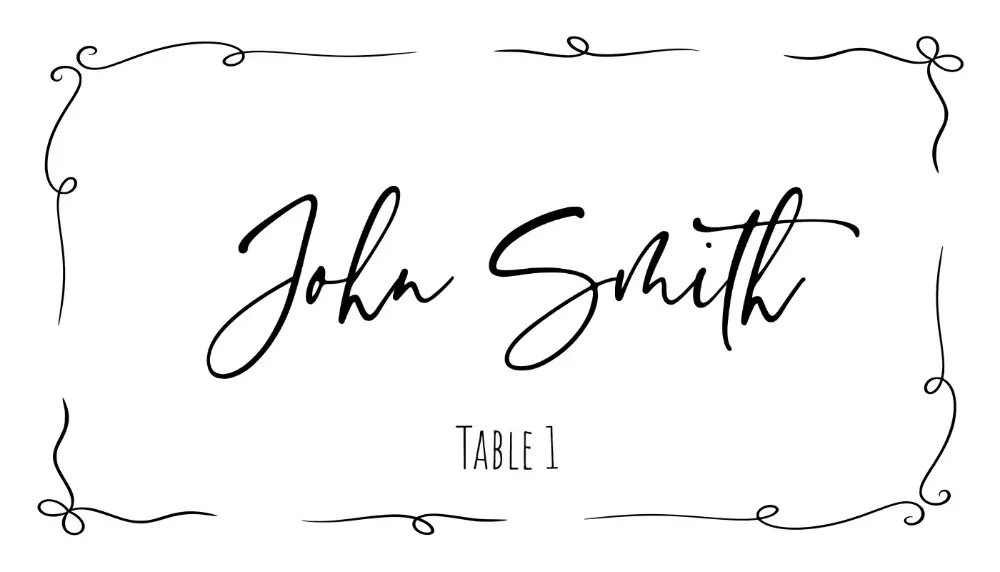
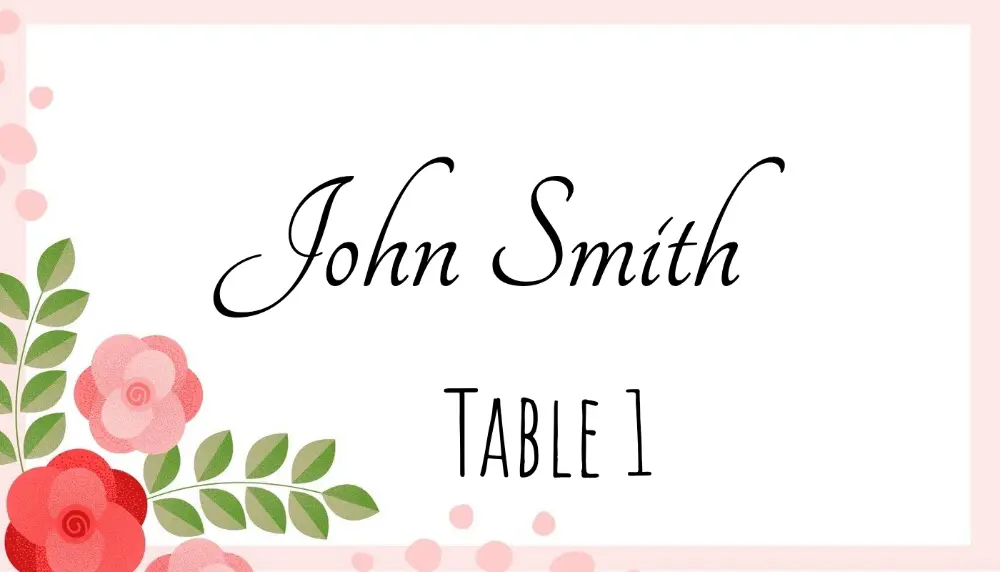
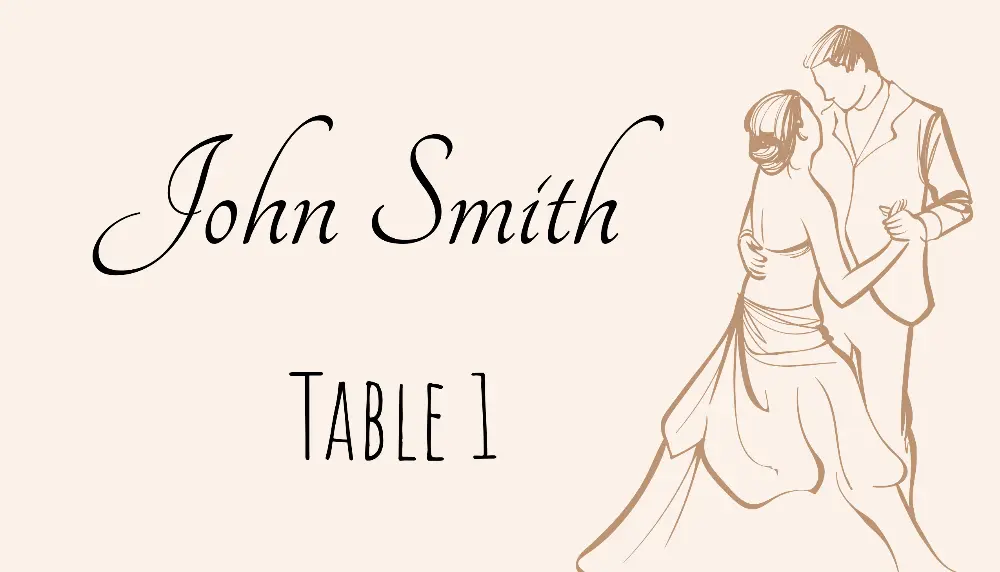
Printable wedding place card templates
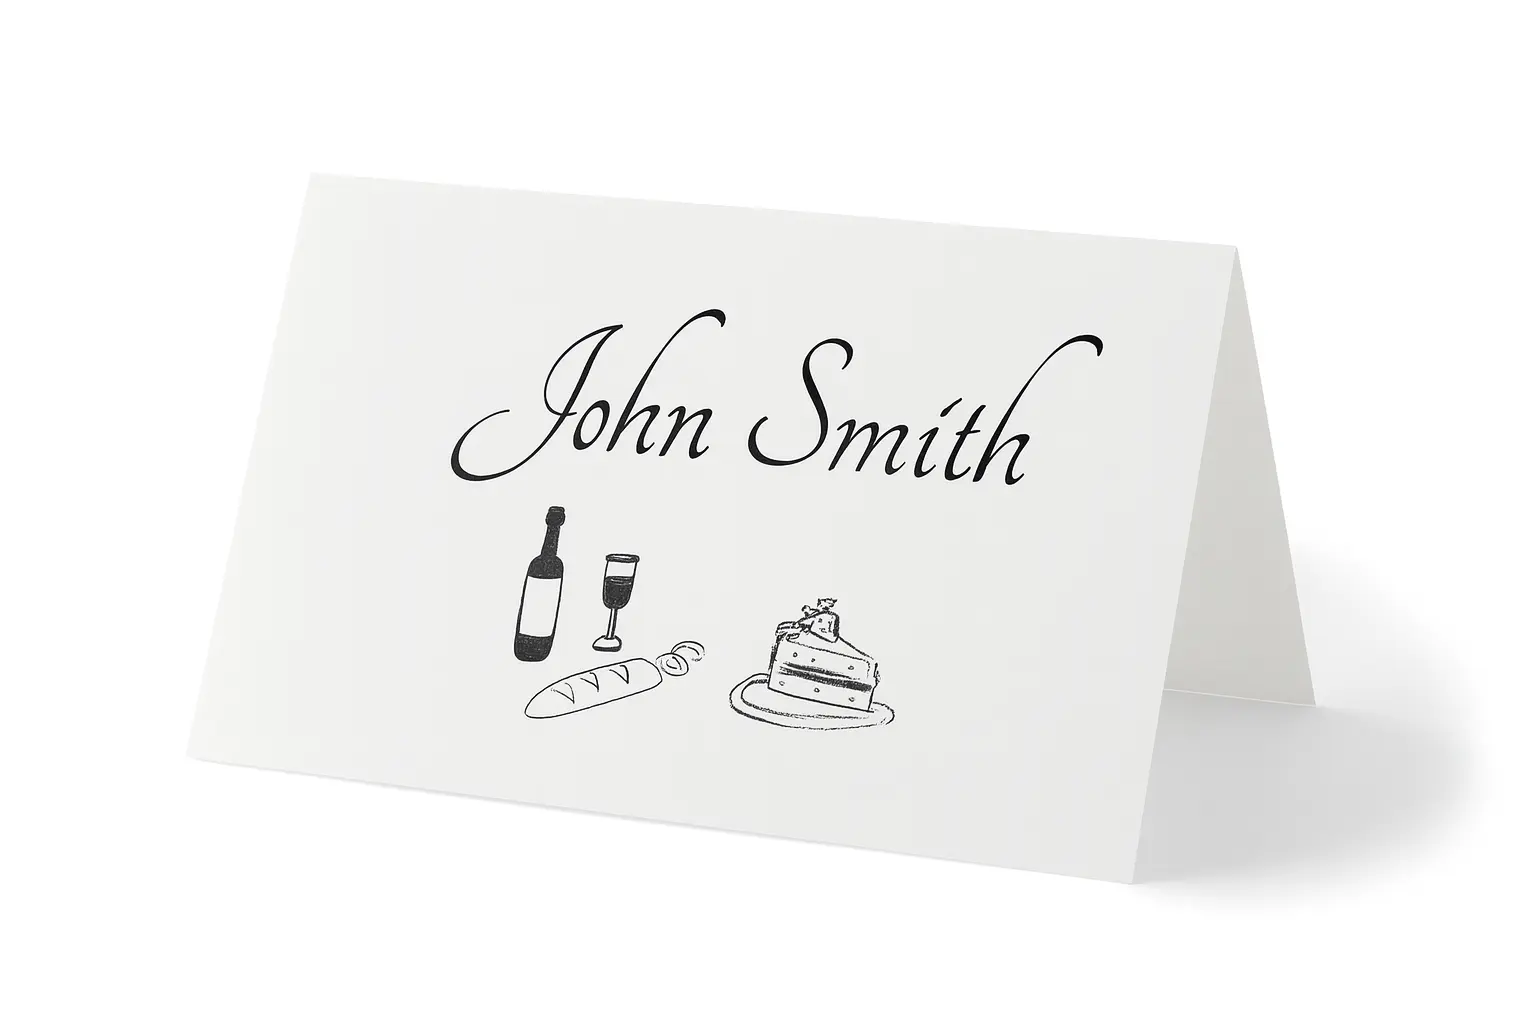
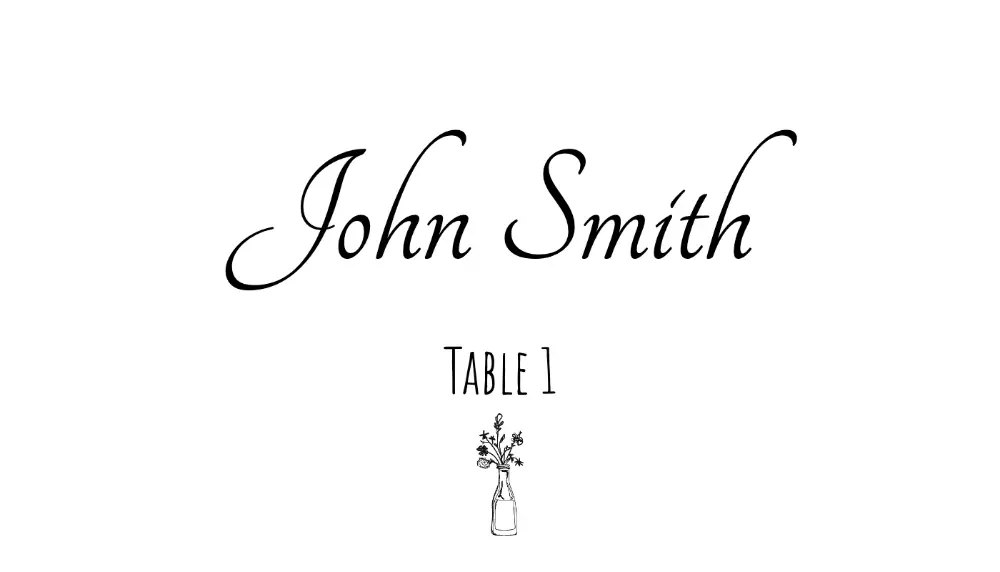
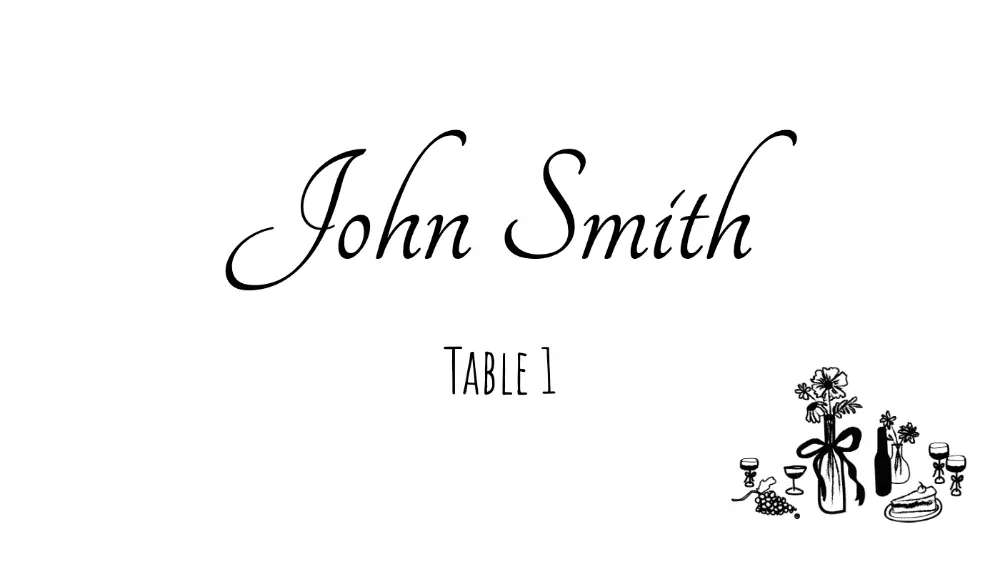
Wedding place cards usually need more than a name. Many couples add table numbers, meal choices, short notes, or matching escort-card designs.
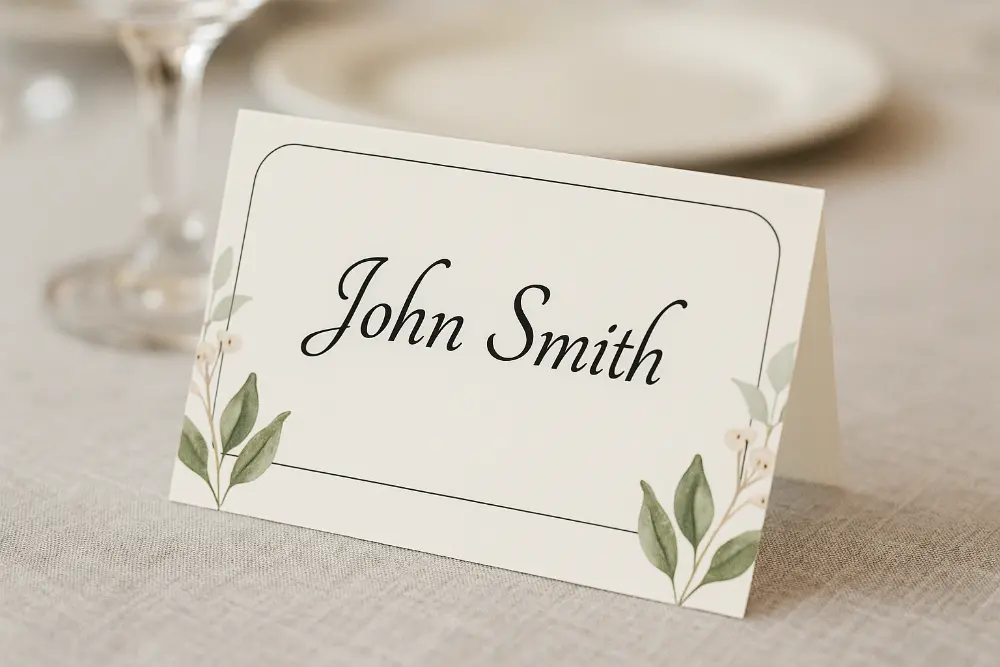
Guest names
Keep the guest name large and readable so the card works at a real reception table.
Table numbers
Add table assignments when the card also helps guests find the right seat or table.
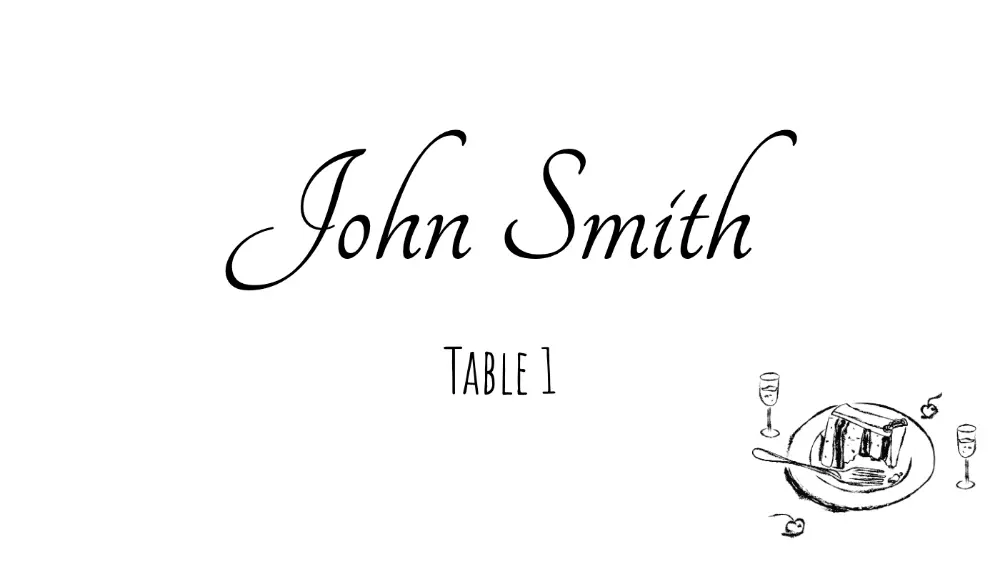
Meal choices
Show meal icons, text, or notes for plated dinners and catering workflows.
Consistent print layout
Use one template for the full guest list so every card prints at the same size.
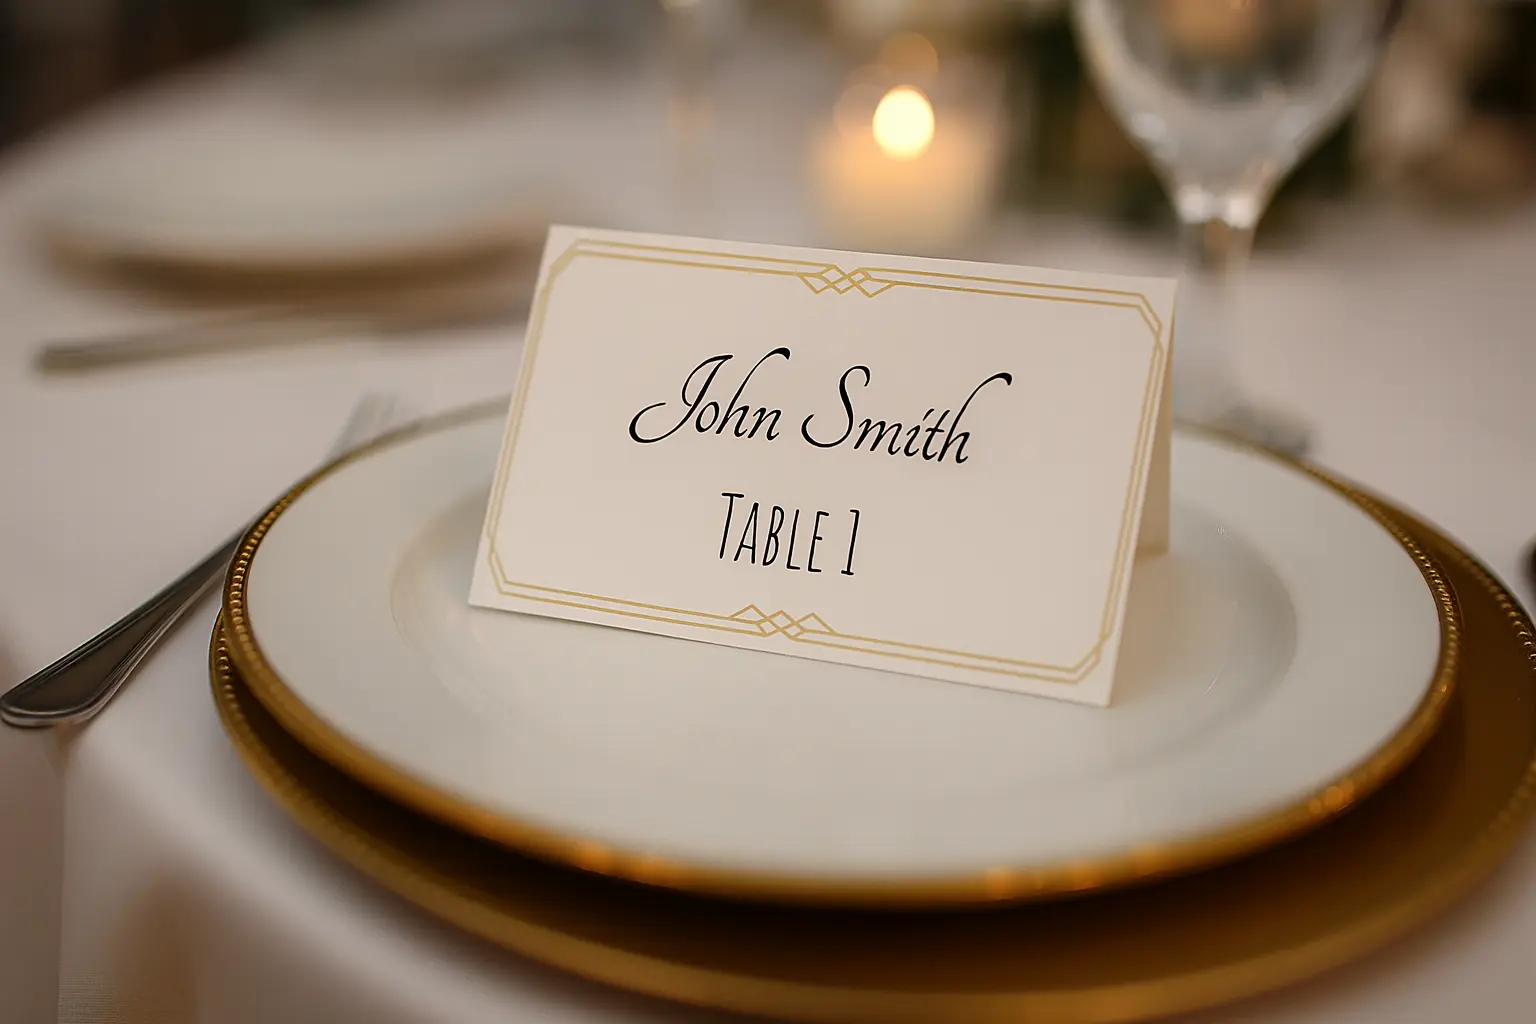
How to print place card templates
Before printing the full batch, confirm the card size, paper stock, sheet layout, and printer scaling.
Print at 100% scale
Avoid fit-to-page settings because they can shrink the card and move cut lines.
Test one sheet first
Print a single page, check the alignment, then print the full guest list.
Use cardstock
Folded tent cards need cardstock so they stand cleanly on the table.
Match the template to the paper
Avery sheets, 6-up layouts, and custom cardstock all need different margins.
Place card template FAQ
Quick answers before you choose a template or print a full guest list.
Need exact dimensions? Start with the place card size guide before printing.
Still have questions?
If you couldn't find the answer you're looking for, please feel free to ask us!